
Hiking in Kamikochi in Fall: Choosing a Route to Match Your Fitness and the 15/11 Closure Deadline
Four hiking routes through Kamikochi Valley in fall, ranked by fitness level, with the real terrain, subzero early-morning temperatures, bear safety, and the 15/11 winter-closure deadline.
Aug 12, 2026·✍️ olablog·⏱ 16 min read
Four hiking routes through Kamikochi Valley in fall, ranked by fitness level, with the real terrain, subzero early-morning temperatures, bear safety, and the 15/11 winter-closure deadline.
Tap a region to browse articles
My longest hike in Kamikochi began with a pretty stupid decision: at 13:40, standing on Kappa Bridge with a full stomach, I looked at the sign that said “Tokusawa 6.6 km” and thought, “Six kilometers? That’s nothing.” The result was that I turned around at Tokusawa at nearly 16:00, walking back through the blue-gray light that Japanese mountaineers sometimes call the “wolf hour,” my hands shaking from the cold, my phone flashlight losing battery, and stopping every ten minutes to clap once just to make some noise because a bear-sighting notice had been posted on the bulletin board at Myojin that morning.
I made it back to the bus terminal safely. But the lesson was crystal clear: Kamikochi isn’t difficult; Kamikochi is simply long and gets cold quickly — two things first-time visitors almost always underestimate. The trails here are so flat that you can push a stroller along many sections, which makes it easy to forget that you’re at an elevation of around 1,500 meters, in a valley enclosed by mountains, where the sun disappears earlier than the clock suggests and temperatures drop rapidly after 15:00.
I wrote this guide specifically about hiking in the valley in fall: four routes ranked by fitness level, what the terrain is really like, what to wear at the end of October, bears, water and restrooms, and the 15/11 — the day Kamikochi closes for the winter. There’s no technical climbing here, and you don’t need ropes or alpine experience. But there are a few places where you absolutely need to stay alert.
Understand the Valley Before Choosing a Route
Kamikochi is a flat stretch of land running along the Azusa River, located in Chubu Sangaku National Park in Nagano Prefecture. The entire area is almost entirely free of steep slopes: water flows gently down from upstream, so walking farther into the valley feels like walking across a slightly inclined flat surface. That’s why Kamikochi is generally described as “mountain walking” rather than “mountaineering.”
There are three terrain features you should understand:
- Packed dirt trails make up most of the routes, and they are wide, with exposed roots and loose stones in some sections. There are no long flights of stairs or cliff faces where you have to use your hands.
- There are many wooden boardwalks crossing marshes and wet ground, especially near Taisho Pond and along some sections of the river’s left bank. In the early morning in fall, the boards can be thinly iced over and incredibly slippery — this is where people fall most often, not on the mountain.
- An elevation of around 1,500 meters means temperatures are roughly 8–10 degrees lower than in Matsumoto. It also gets dark in the valley considerably earlier than the official sunset time because both sides are lined with high mountain walls.
There’s one fixed detail you should remember as soon as you start planning: private vehicles are prohibited year-round from entering Kamikochi through Kama Tunnel. There are no seasonal exceptions, and arriving early won’t get you through. Everyone enters by bus or taxi from the Sawando parking area (on the Matsumoto side) or Hirayu Onsen (on the Takayama side). This directly affects hiking plans: your return time is constrained by the last bus, not just by the setting sun.
Four Routes, Ranked by Fitness Level
I’ve arranged these in increasing order of difficulty. All four follow the same main axis through the valley, so you can stop at any point and turn back — Kamikochi’s biggest advantage over other mountain routes in Japan.
Route 1 — Taisho Pond to Kappa Bridge: About 1 Hour, Suitable for Everyone
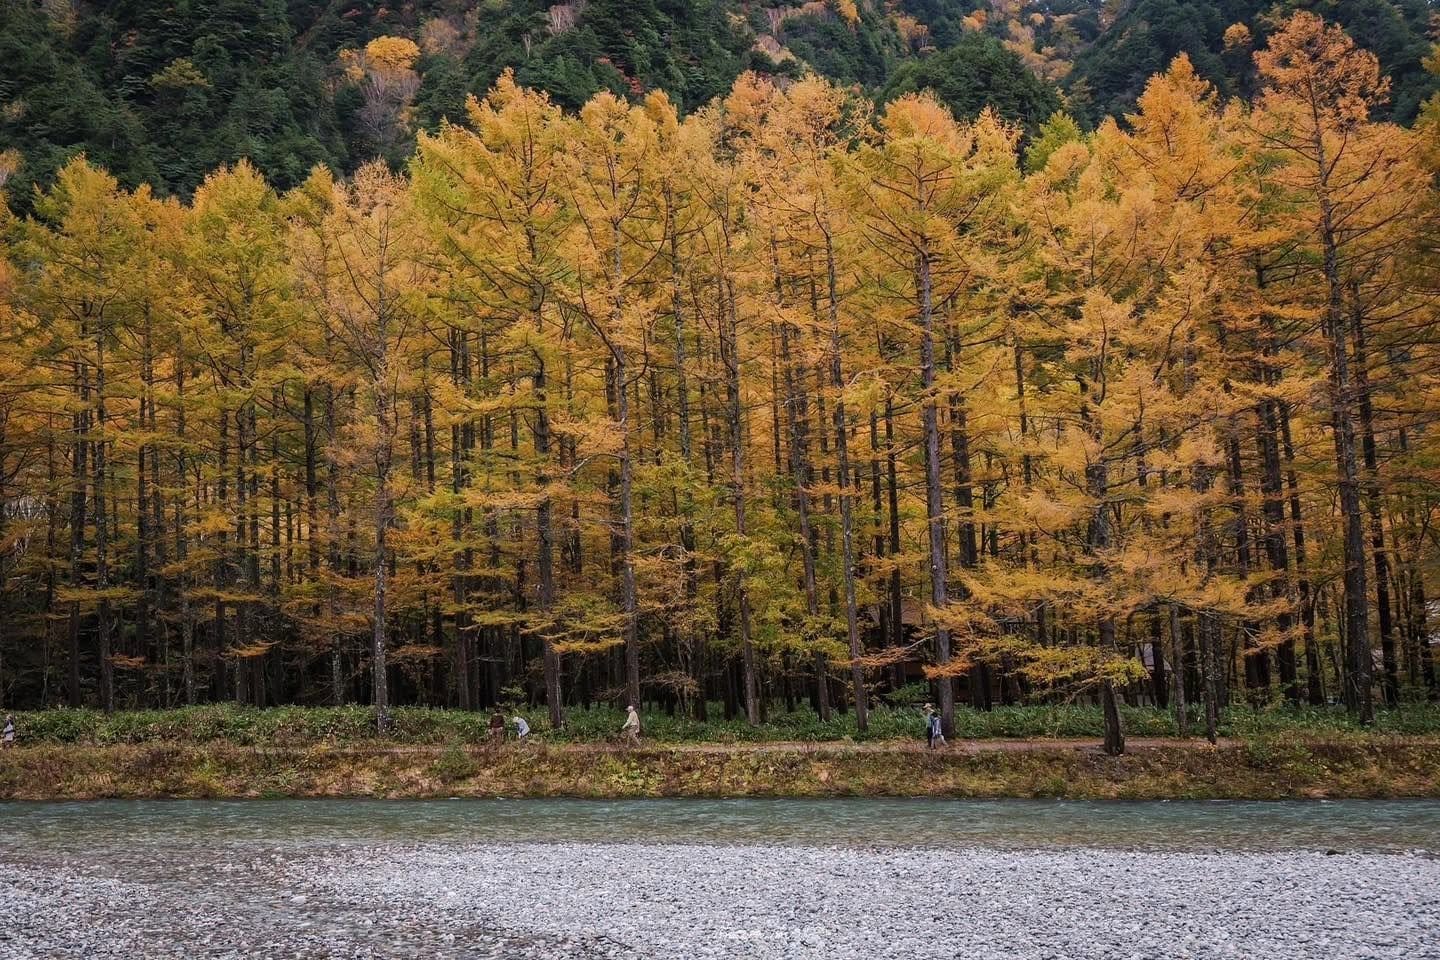
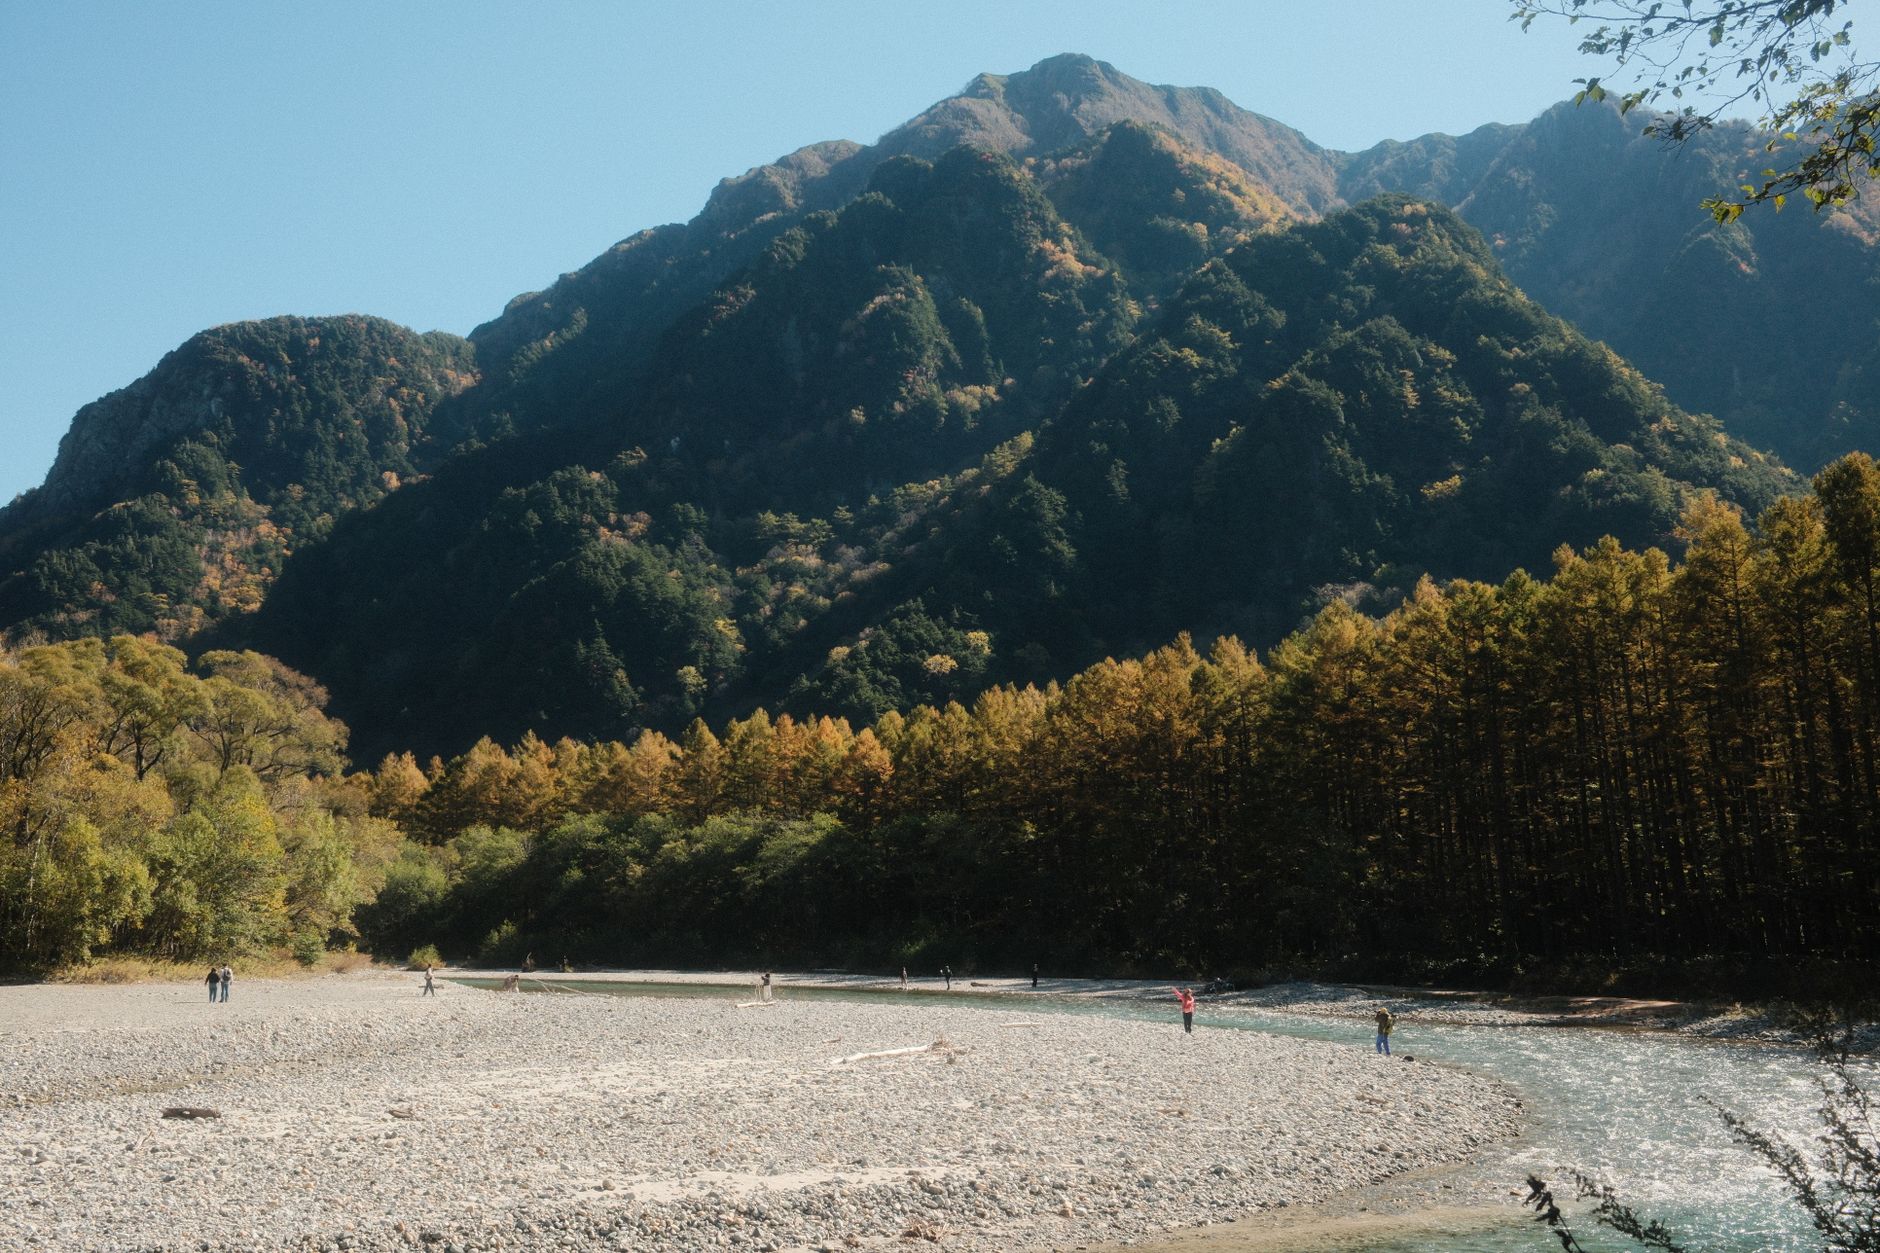
This section is roughly 3,5 km long and almost completely flat, with many wooden boardwalks crossing the Tashiro Marsh. Older adults, children, and people recovering from an illness can all manage it. In fall, it has the best scenery per meter of trail: Taisho Pond with its dead standing trees, the Hotaka Range reflected in the marshes, and larch forests turning golden yellow around the end of October.
The most efficient approach is to get off the bus at the Taishoike stop instead of going all the way to the central bus terminal, then walk back toward Kappa Bridge. That way, you won’t have to retrace any section.
If you only have half a day or are traveling with elderly parents, stopping here is more than enough, and you won’t be missing out.
Route 2 — Kappa Bridge to Myojin, Looping Along Both Banks: About 2 to 2,5 Hours
This is the route I recommend most often to first-time visitors who have a full day. Myojin is about 3–3,5 km each way from Kappa Bridge, and the full loop along both riverbanks is roughly 7 km.
The great thing is that the two banks feel completely different:
- The right bank (the side with the bus terminal) is broad, open, and busier. It’s faster to walk, with many stretches offering direct views of the Hotaka Range.
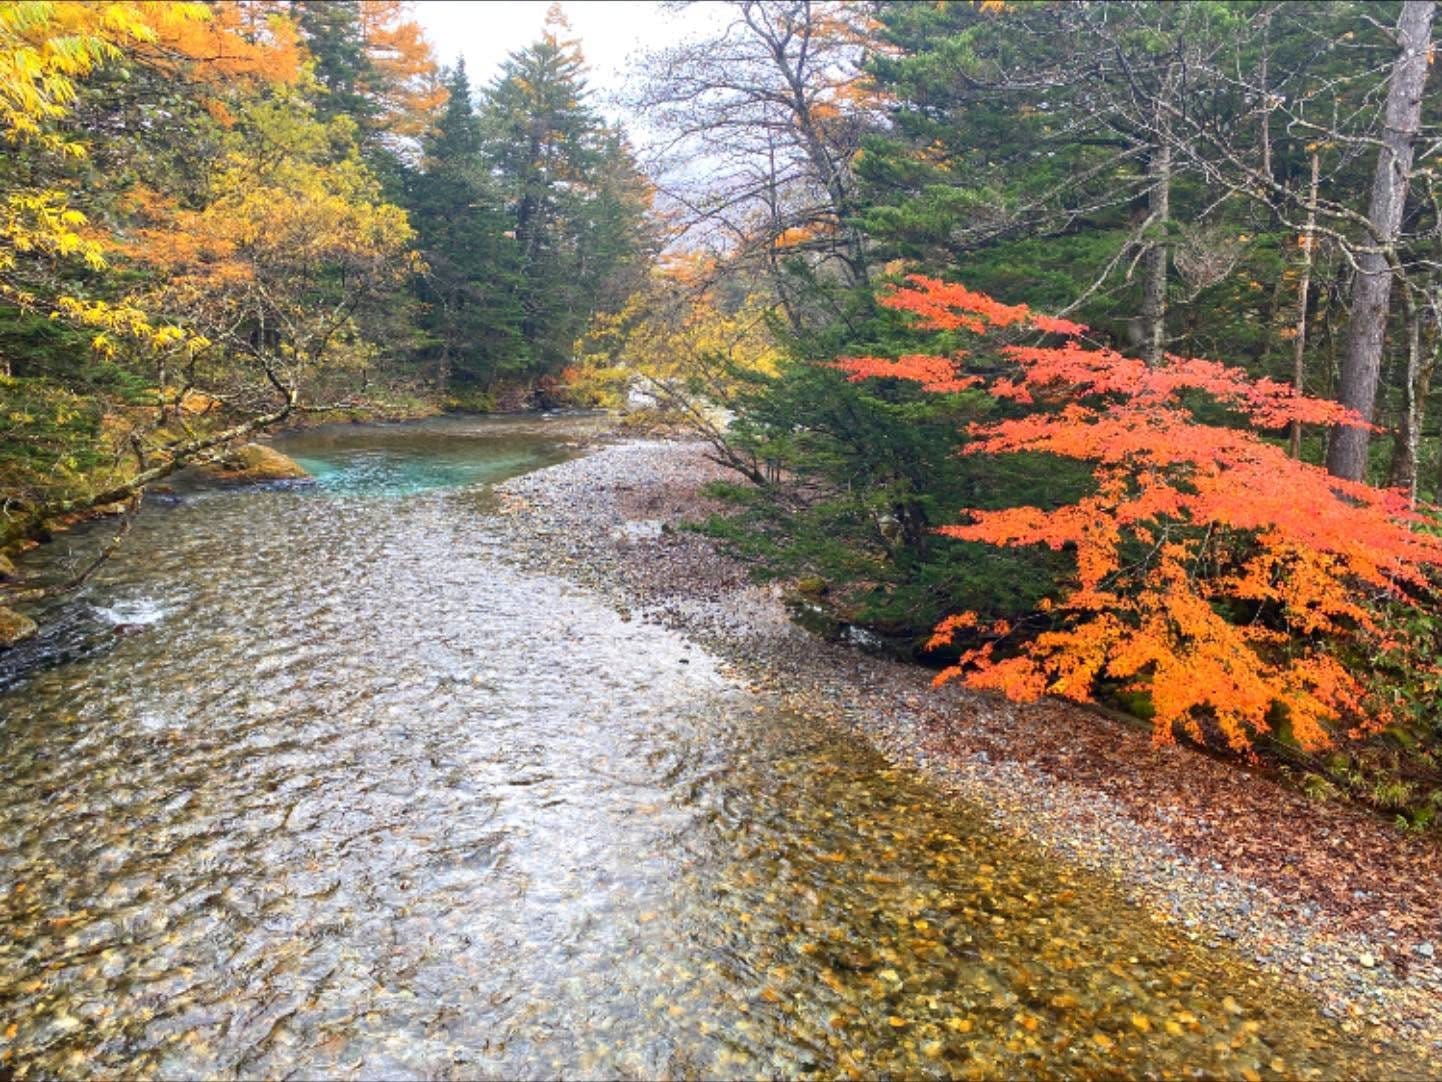
- The left bank is narrower and more heavily wooded, with more wooden boardwalks and far fewer people. Myojin Pond sits right at the foot of the mountain wall — in fall, the water is so clear that you can see the bottom. Myojin Pond is within the grounds of Hotaka Shrine, and there is a small admission fee, so bring some cash in small denominations.
I usually walk up along the left bank in the morning when it’s quiet, have lunch at Myojin, and return along the right bank for a faster walk. You can also do it in the opposite direction; there isn’t much difference.
In terms of fitness, if you can walk continuously for 2 hours in the city without needing to sit down, this route is well within your ability.
Route 3 — Myojin to Tokusawa: An Additional 1,5 Hours
From Myojin, continue another roughly 3,5 km farther into the valley to reach Tokusawa. The trail is still flat and wide, but three things change noticeably:
- There are far fewer people. Most tourists turn around after Myojin. From here onward, you’ll mainly see people with large backpacks heading toward Karasawa or Hotaka.
- The forest closes in, making the trail shadier and cooler — and distinctly colder in fall.
- Tokusawa opens into a wide grassy meadow with a direct view of the Maehotaka cliffs. It’s one of the most beautiful places I’ve ever found in Japan to sit and rest, with red maple trees and golden larches standing side by side in fall.
From the bus terminal, the round trip to Tokusawa is about 20 km and takes 6–7 hours including meal and rest breaks. That sounds like a lot, but because the route is flat, the fatigue is mainly in your legs rather than your heart and lungs.
Route 4 — Tokusawa to Yokoo: For Those Who Are Already Fit
Another roughly 3,5 km from Tokusawa brings you to Yokoo, where a bridge crosses the river and the trail becomes a true junction: one direction leads to Karasawa, and the other to Yarisawa. For day hikers, Yokoo is the only sensible endpoint — beyond it, the terrain begins to climb, and it stops being a simple “walk.”
The round trip to Yokoo in one day is about 27 km. I’ll be direct: that distance only makes sense if you leave the bus terminal before 8:00, maintain a steady pace, avoid lingering, and are already accustomed to 6–8-hour hikes. Fall days are short; starting an hour late means paying for it with an hour of walking in the dark at the end of the day.
If you want to reach Yokoo without racing the clock, the right approach is to stay overnight in the valley — I’ll cover that below.
Assess Your Fitness: Which Route Should You Choose?
Answer these questions honestly:
- Walking continuously for 1 hour feels normal, but 2 hours makes you tired → Route 1, perhaps with a short extra stretch toward Myojin before turning back.
- You can walk for 3–4 hours with breaks and still feel fine → Route 2, which is the most sensible choice for most people.
- You’ve done full-day treks before and are used to carrying a 5–7 kg backpack → Route 3.
- You run or hike regularly and have experience managing your time in the mountains → Route 4.
Another simpler way to judge it is by looking at the clock. For every hour you walk farther into the valley, you owe yourself exactly one hour to get back out. There are no shortcuts, vehicles, or cable cars. Count backward from the bus you want to catch, and that tells you when you need to turn around.
How Cold Is It at the End of October, and What Should You Wear?
This is where I see Vietnamese travelers underprepare most often, because the photos show brilliant golden sunshine and make the place look warm.
Typical conditions in the valley at the end of October include:
- Early mornings can drop below 0 degrees, with frost whitening the grass and wooden boards and your breath visible in the air.
- If it’s sunny at midday, it can feel pleasant, and you may need only a long-sleeved shirt and one light layer.
- After 15:00, temperatures fall very quickly, especially when the sun disappears behind the mountain wall to the west. The difference between 14:00 and 16:00 can feel like two different seasons.
- Wind funneled along the river is colder than the measured temperature, especially on exposed gravel flats such as Tokusawa.
Here’s what I wear and find effective:
- Three layers: a moisture-wicking base layer (avoid cotton; once it’s wet with sweat, you’ll stay cold all day), a fleece or light insulated middle layer, and a windproof outer layer.
- Light gloves and a wool hat — the two lightest items in your backpack, yet the ones that help you most.
- Low-cut trekking shoes with good grip are sufficient. You don’t need heavy mountaineering boots.
- A headlamp, even if you’re certain you’ll be back early. Phone batteries drain very quickly in the cold, so don’t make your phone your only light source.
- A small heat pack or adhesive warmer for your back in the morning.
Bears: The Honest Version, Without the Scare Tactics
Kamikochi lies within the habitat of the Asian black bear. Bear sightings here are not unusual, and fall is when bears eat heavily to build up fat before hibernation, so sightings tend to be more frequent.
That doesn’t mean you shouldn’t go. Hundreds of thousands of people hike here every season. But there are several rules you should follow properly:
- Wear a bear bell or at least make regular noise — talk, clap at blind corners, in dense forest, and near loud streams. Bears avoid people when they know people are nearby.
- Don’t take strongly scented food out on the trail, and don’t eat while walking. Eat in designated areas with tables and chairs, and pack your trash securely.
- Take all your trash with you, including fruit peels. Leaving organic waste behind teaches bears to associate human areas with food.
- Check the bulletin boards at the Visitor Center and at the lodges before heading deeper into the valley. Bear-sighting notices are clearly posted by date and area. If there’s a warning on the route you plan to take, change your route.
- If you see a bear in the distance: don’t run, scream, or approach it to take photos. Slowly back away in the direction you came from.
I once spent a whole week in Kamikochi without seeing a single bear. I’ve also seen a warning posted right at a bend I had passed just thirty minutes earlier. With the right preparation, the risk is very low, but don’t leave your bear bell at home because of that.
Water, Restrooms, and Phone Reception Along the Trail
These are ordinary, practical details, but they determine how comfortable your entire day will be.
Water. The bus terminal and Kappa Bridge area have shops, vending machines, and bottled water. The farther into the valley you go, the fewer options there are: the lodges at Myojin, Tokusawa, and Yokoo sell drinks, but prices are higher than outside the valley and opening hours vary by season. I usually bring 1–1,5 liters from the bus terminal for Routes 3 and 4. The Azusa River looks crystal clear, but don’t drink directly from it unless you have a proper filter.
Restrooms. There are restrooms along the main route at the major points: the Taisho Pond area, the bus terminal and Kappa Bridge, Myojin, Tokusawa, and Yokoo. Many have voluntary donation boxes, usually asking for a small amount of loose change, so always keep a few 100-yen coins in your pocket. There are long stretches with nothing between these points — plan ahead and don’t assume there will be a restroom nearby.
Phone reception. Around the bus terminal and Kappa Bridge, reception is generally available for messaging and checking maps. The farther in you go, the more intermittent it becomes; from Tokusawa onward, you should assume there is no reliable reception. So download offline maps beforehand, take screenshots of the bus timetable, and if you’re hiking alone, tell someone at home which route you’re taking and what time you expect to return.
The 15/11 Deadline — Kamikochi Closes for the Winter
This is a deadline you must include in your plans: Kamikochi closes for winter from 15/11 every year. After that date, buses and taxis stop running into the valley, the lodges close, services stop, and the area reopens around mid-April the following year.
A few practical consequences:
- Don’t schedule your trip too close to the date. As 15/11 approaches, more restaurants and lodges will already have closed early according to their own schedules. Some stop accepting guests from the beginning of November.
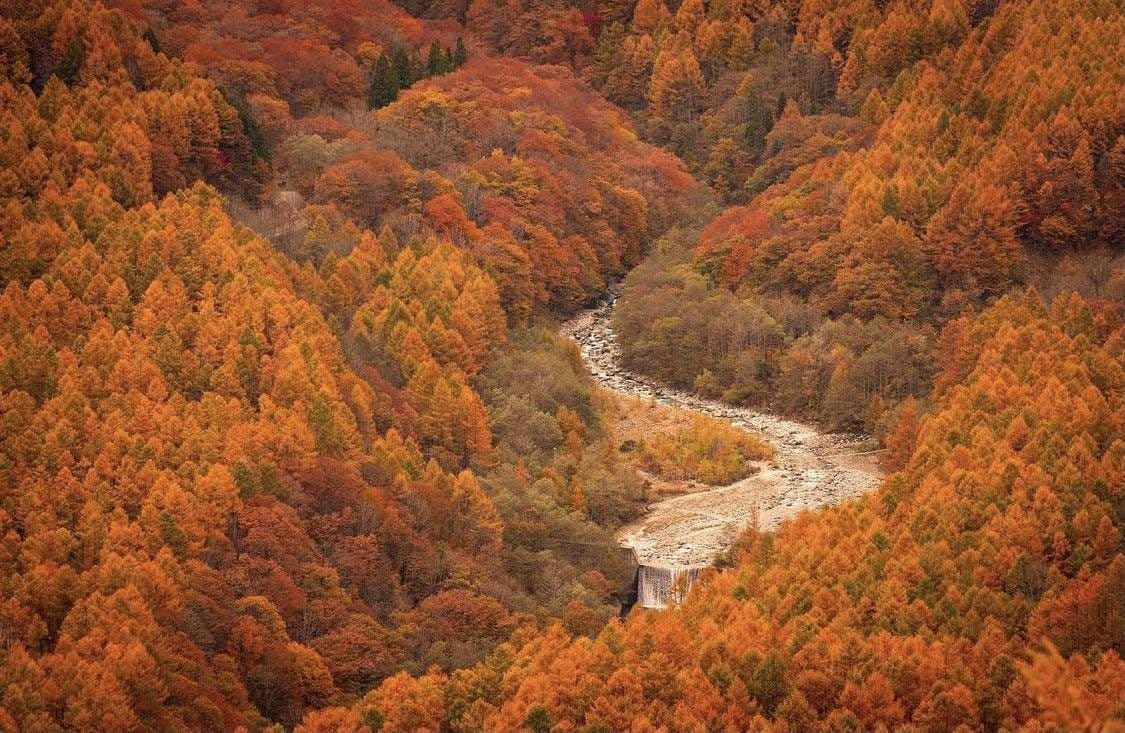
- The fall colors in the valley have usually peaked well before this date; from early to mid-November, the scenery is mostly bare trees and the first snow on the higher peaks.
- The weather in the first half of November can easily bring ice and thin snow onto the trails. Frozen wooden boards are considerably more dangerous.
- Exact dates for individual services, bus schedules, and fares change from year to year. I recommend checking the official Kamikochi website and the bus operators’ websites (Alpico Kotsu, Nohi Bus) before finalizing your tickets, rather than trusting figures in any article, including this one.
Stay Overnight in the Valley If You Want to Go Deeper
The most comfortable way to reach Tokusawa or Yokoo without racing to catch the last bus is to stay overnight.
- Tokusawa-en is right beside the Tokusawa meadow and offers both indoor rooms and a camping area. Staying here means that the next morning you can set out from a point that day hikers need about 3 hours to reach. Going to Yokoo and returning leisurely in the morning is perfectly manageable.
- Myojinkan is in the Myojin area, closer to the entrance, and suits anyone who wants a gentler itinerary while still experiencing the forest early in the morning before the crowds arrive.
- There are also several lodges and a campsite around Kappa Bridge, convenient for anyone who wants to get up early and see the mist at Taisho Pond.
One general note: fall is peak season, so booking in advance is essential, often several weeks ahead. Many places prefer phone reservations or bookings through Japanese-language websites, and prices and meal policies vary by property — confirm directly with the place you’re booking. Nights in the valley are much colder than the daytime, so bring warm sleepwear even if you’re staying indoors.
Warning: Who Should NOT Push Too Far
I’m writing this bluntly because I’ve seen more than enough people have to ask others for help.
Don’t go farther than Myojin if you’re wearing city sneakers. The trail really is flat, but walking a dozen kilometers or more on thin, low-grip soles is a guaranteed recipe for blisters and a slip on an icy wooden boardwalk. In sneakers, a sensible limit is Taisho Pond — Kappa Bridge, and at most one loop to Myojin if the weather is dry.
Don’t start a long route after 14:00. At the end of October, usable daylight in the valley disappears earlier than you expect, while temperatures drop rapidly at the same time. Starting late means the final part of your hike will take place in the dark and cold, when you’re already tired and there are hardly any other people on the trail to ask for help.
Also think carefully if:
- You’re traveling with young children or elderly people and have no plan for turning back early.
- You’re carrying only one layer and have no gloves or hat.
- Your phone is below 50% battery and you don’t have a power bank.
- It’s raining cold — rain at an elevation of 1,500 meters combined with wind is a recipe for hypothermia, even on flat ground.
- There is a bear warning posted for the area you plan to enter.
No one in Kamikochi gives medals for going the farthest. Turning back early is a good decision, not a failure.
In Summary
Kamikochi in fall is one of the few places in Japan where you can truly feel surrounded by high mountains without having to climb a single steep meter. Choose a route that matches your fitness, start early, wear all three layers, carry a bear bell, bring small change, and always count backward from your return bus — do those five things, and everything else is simply about enjoying the experience.
And if you’re thinking about going in the second half of November: don’t. The gates have been closed since 15/11. Save it for next season, go two weeks earlier, and you’ll see the brilliant golden valley I’ve been describing here.
More from this region — Chubu (Nagano, Kanazawa)
View all →A Guide to the Best Angles for Kamikochi’s Autumn Colors: Where and When to Shoot
16 min · tips
Kamikochi in 3–4 Days: Pairing Matsumoto and Norikura with the Progression of Fall Colors
16 min · tips
Kamikochi in Fall Foliage: Tracking the Golden Wave by Elevation
17 min · tips
Kamikochi in One Autumn Day: Catch the Early-Morning Mist and Make the Afternoon Bus
20 min · tips