
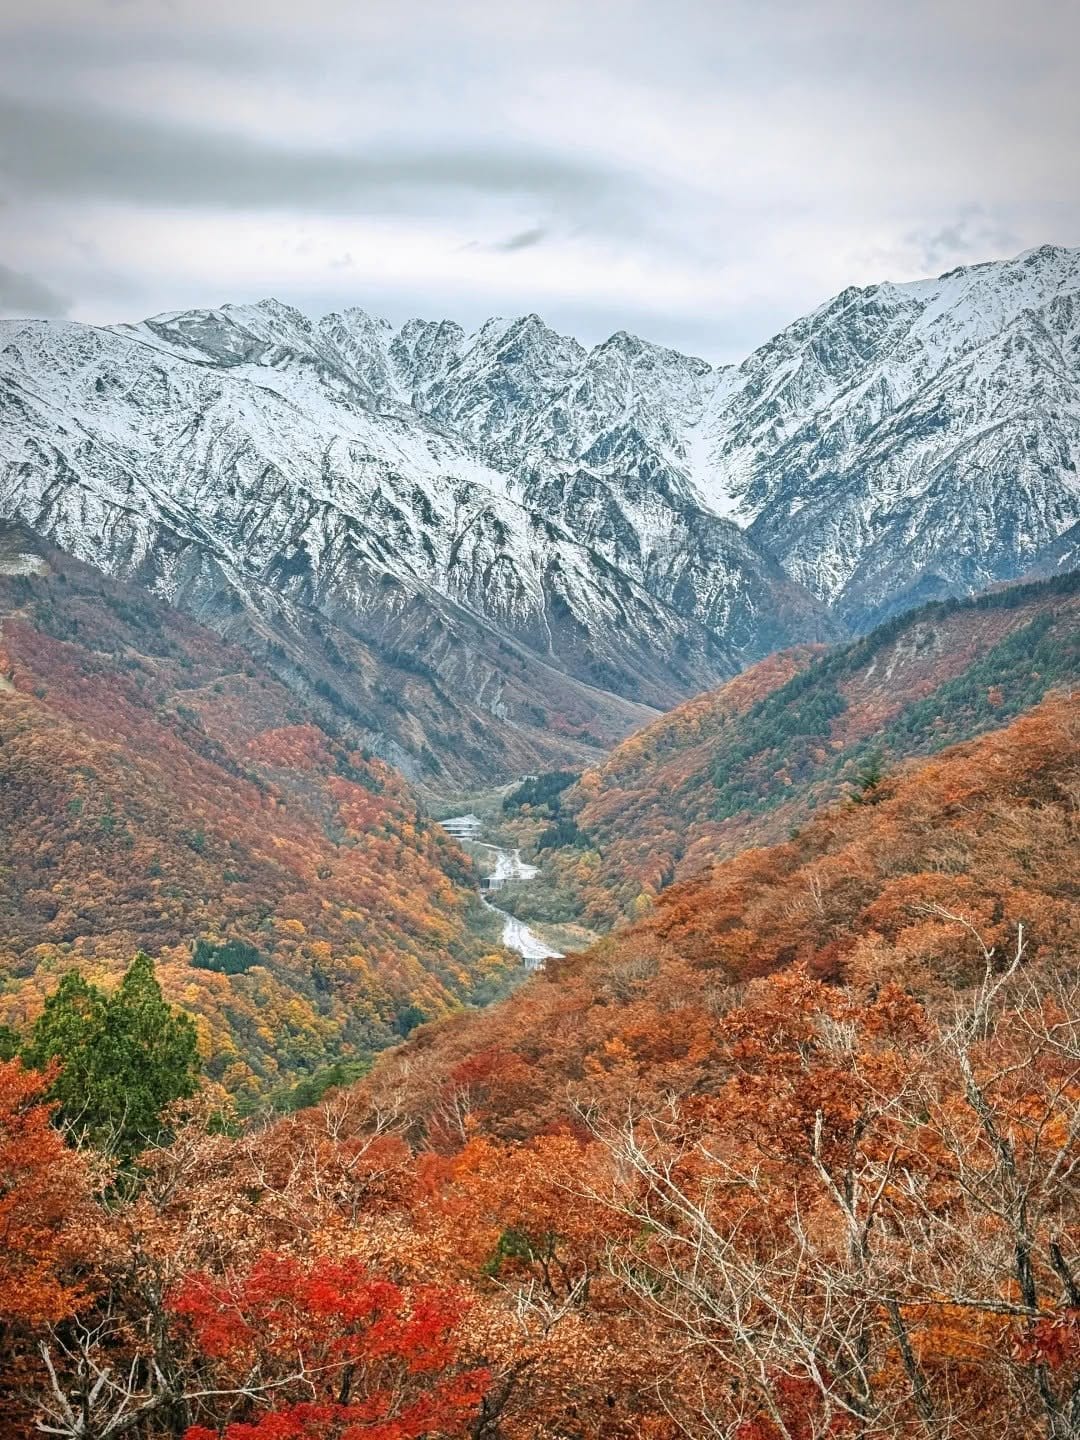
Chasing Autumn Colors in Hakuba: 10 Frames and the Golden Hours for Shooting
From Happo-ike reflecting the three snowy peaks to Aoni’s terraced fields at first light—when the light is best, where to stand, which focal lengths to bring, and how to keep people out of your frame.
Aug 12, 2026·✍️ olablog·⏱ 22 min read
From Happo-ike reflecting the three snowy peaks to Aoni’s terraced fields at first light—when the light is best, where to stand, which focal lengths to bring, and how to keep people out of your frame.
Tap a region to browse articles
There’s one problem almost everyone runs into the first time they bring a camera to Hakuba in autumn: the scenery really is beautiful, but the photos they take home look flat. The white mountains are blown out, the lake is cloudy instead of mirror-like, and there always seems to be a red hat, a backpack, or an arm holding up a phone somewhere in the frame. It’s not that your camera is inadequate—the issue is that in this valley, the scenery is only at its best during very narrow windows of time, and each location has a different window.
The reason comes down to the terrain. Hakuba is a north–south valley, while the Northern Alps, with the three imposing Shirouma peaks, rise to the west. That means the morning sun comes from the east and shines directly onto the mountains, turning the snow-covered slopes pink and bringing out every fold in the rock. By afternoon, those same slopes face away from the sun and become gray backlit silhouettes. That alone determines much of your shooting schedule: reserve mornings for the mountains, and afternoons for forests and sheltered lakes.
This article is a list of the 10 places I think are most worth the effort in Hakuba during autumn foliage season—from a lake more than 2,000 meters high to terraced fields in a little-known historic village. For each spot, I’ll cover the best light, where to stand, which focal lengths to prepare, and most importantly, how to avoid waiting forever while still getting a clean frame without people. Everything here works whether you shoot with a camera or a phone, because most of the advice is about position and timing rather than camera settings.
Before You Shoot: Time the Season and the Weather
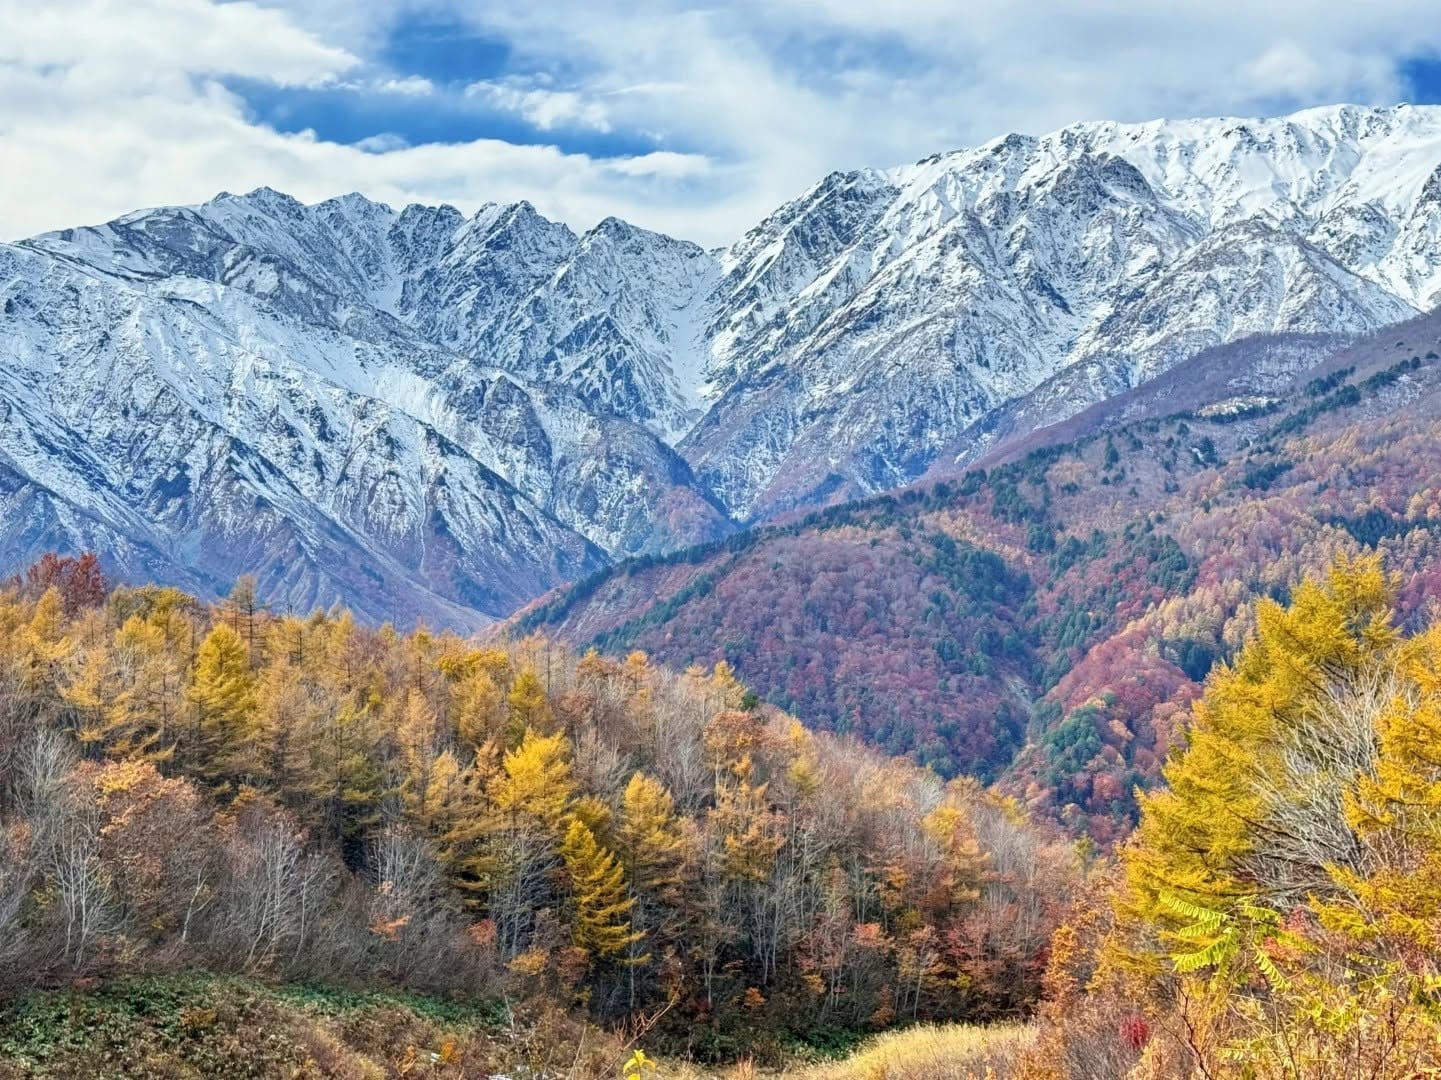
Hakuba’s foliage changes with elevation, not the calendar
This is where many visitors get their timing wrong. Hakuba Valley sits at around 700 meters, while the peaks behind it rise to nearly 3,000 meters. Autumn colors don’t arrive all at once; they “flow” downhill from the highest elevations over a period of six weeks:
- Late September to mid-October: High-elevation areas around 1,900–2,000 meters, such as Tsugaike and the Happo area, are at their most vivid. This is also the best time to catch sandan kōyō—three layers of color: white snow on the peaks, red foliage halfway down, and green forest below.
- Mid-October to early November: The colors move down the mountainsides and into the areas around the lakes and lower forests.
- Early to mid-November: The valley floor turns brilliantly golden, and the villages and terraced fields are at their best, while the higher areas may already be closed due to snow.
In other words, there is no single “best week” for all of Hakuba. There is a best week for the elevation you plan to visit. About a week before your trip, check Nagano Prefecture’s autumn foliage report and the official websites of each ropeway and gondola area to see how far the colors have progressed before finalizing your itinerary.
Weather determines much of the final image
These are the three factors to watch, ranked by importance:
- Wind: Even wind speeds above 2–3 m/s can ruin reflections on a lake. For mirror-like water, you almost have to arrive before 7 a.m., before the sun has disturbed the air.
- The day–night temperature difference: A cold night followed by a warm day is the recipe for fog pooling in the valley. A sea of clouds covering the villages with mountains rising above it is the reward for getting up early after a clear night.
- Clouds: A completely blue sky can actually look a little flat. A few high clouds, or clouds clearing after rain, add much more depth to the image.
10 Great Places to Photograph Autumn Colors in Hakuba
1. Happo-ike Pond — A Mirror Reflecting the Three Shirouma Peaks
This is the iconic view of the entire area: a small pond tucked into the mountains at an elevation of over 2,000 meters, its perfectly still surface reflecting the three Shirouma peaks, already dusted with the first snow of the season. You take a gondola and chairlift from the Happo-one area, then hike for around 60–90 minutes depending on your fitness. The trail doesn’t require mountaineering skills, but it is steep and covered with rough rocks—shoes with good grip are essential.
- Best time: Take the earliest lift of the day. The lifts usually start running around 8 a.m. (check the official website beforehand, since operating hours vary by season and weather), which means you’ll reach the pond around 9:30–10 a.m.—still early enough to beat the stronger winds. After 11 a.m., the surface is almost certain to be rippled.
- Shooting direction: Stand on the southern shore and point your camera north–northwest, using the mountains as your background. The morning light comes from behind you and illuminates the mountain faces directly—exactly what you want.
- Suggested focal lengths: 24–35 mm for the classic pond-and-mountains composition (anything wider than 20 mm makes the pond shrink into a puddle). Bring a 70–200 mm as well to compress the layers of the mountains and isolate the snow on the peaks.
- How to keep people out of the frame: The trail runs right along the shore, so people are almost always passing by. The most effective method is to lower the camera very close to the water—the rocky edge will hide most of the people behind it. The second option is to shoot vertically and crop out the sides. The third, if you have a tripod, is to make a several-second exposure with an ND filter; people walking through will blur into streaks or disappear altogether.
2. Iwatake Mountain Harbor — A Lookout Floating Above the Valley
A wooden deck projects out from the mountainside, with a sweeping view of Hakuba Valley and the wall of the Alps beyond. This is the most photogenic spot for anyone who doesn’t want to hike: the gondola takes you almost all the way there, there’s a café at the summit, and the composition is practically ready-made—you just need to stand in the right place.
- Best time: Early morning is ideal, when the mountain faces are directly lit and the air is still clear. In some seasons, the gondola runs early for sunrise or for visitors hoping to see a sea of clouds—this varies from year to year, so check the official website. If you can only go in the afternoon, change your approach: shoot backlit silhouettes of people on the deck against the sky.
- Shooting direction: Face west, along the axis of the projecting wooden deck.
- Suggested focal lengths: 24–70 mm is the most versatile range. An ultra-wide lens sounds tempting but often has the opposite effect: the mountains are pushed into a small strip in the distance while the deck takes over the frame. If you want the mountains to loom behind your subject, step back and use 85–135 mm.
- How to keep people out of the frame: This is the busiest location on the list. Take the first gondola and shoot during the first 20 minutes—the difference between 8:30 a.m. and 10 a.m. is enormous. If you arrive late, don’t squeeze in at the edge of the deck. Move farther back, use a telephoto lens to shoot over the crowd, or shoot upward so the deck and sky create a clean background.
3. Ōide Suspension Bridge — The Bridge, Thatched Roof, and Mountain Wall
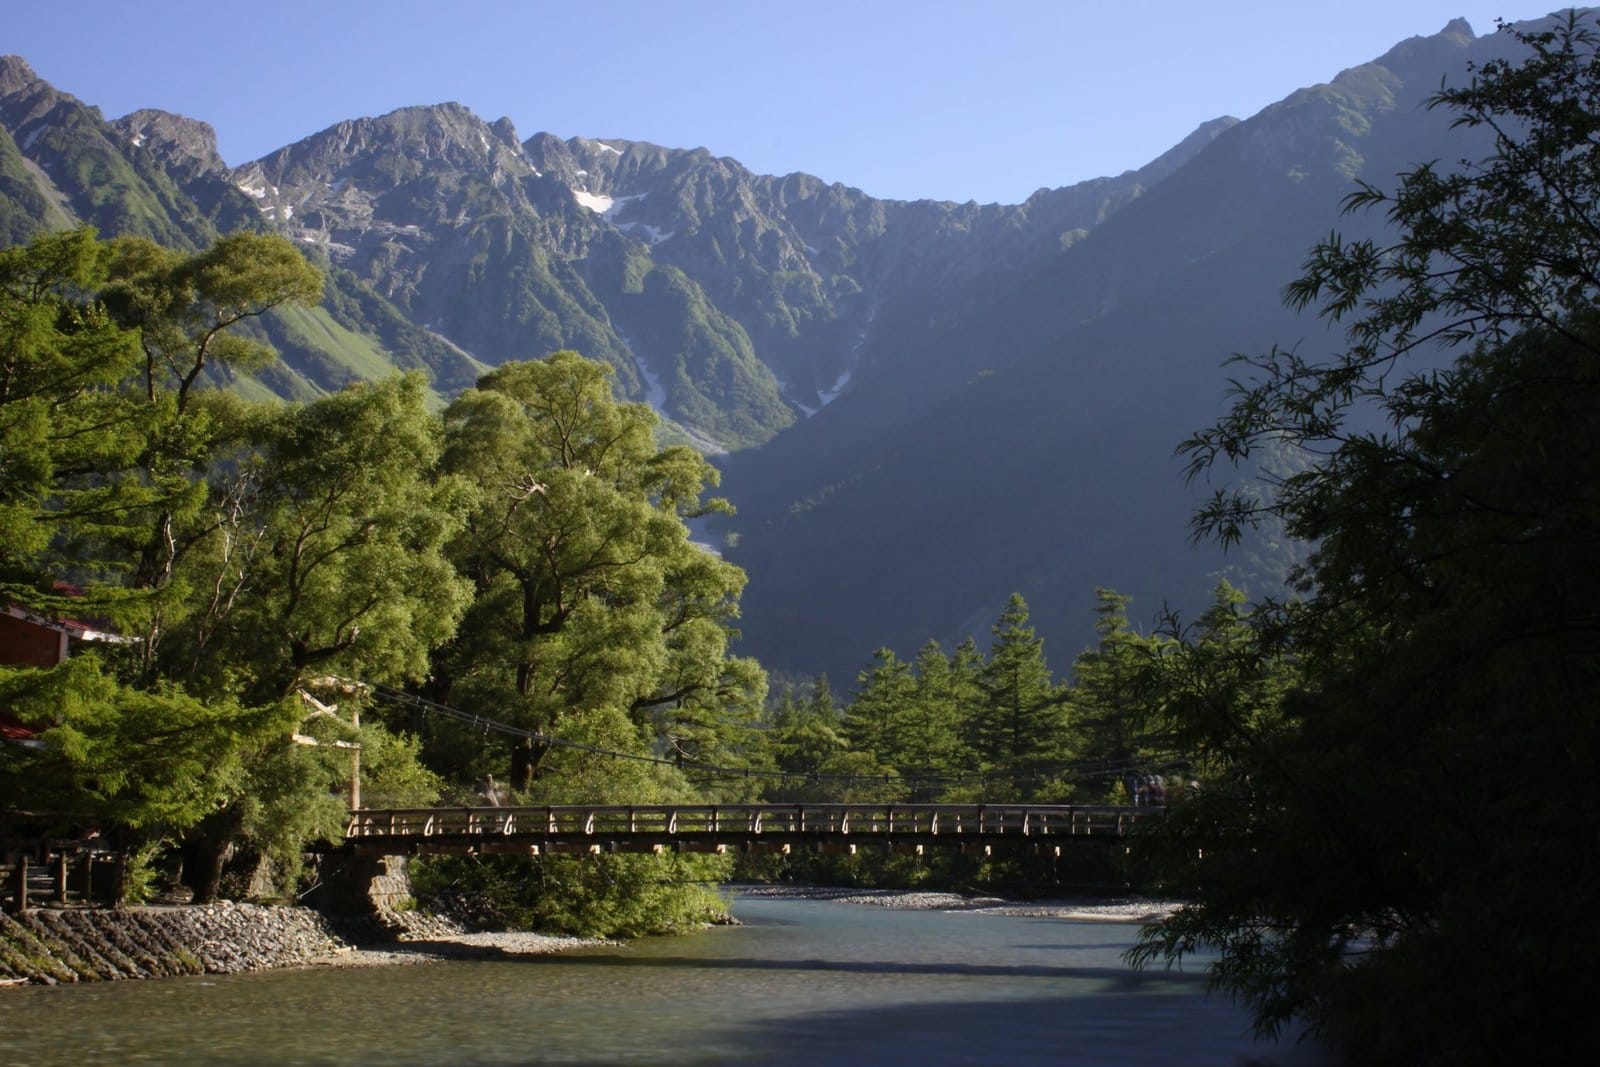
This suspension bridge crosses the Himekawa River north of the village, beside a small thatched-roof house. When the leaves change, the scene looks almost like a postcard: the bridge cutting across the frame, red-orange forest on both sides, and the Shirouma range rising steeply in the background. The best part is that it’s only a few minutes’ walk from the parking area, with no lift or ticket required.
- Best time: About 30–60 minutes after sunrise, when the sunlight begins to sweep across the mountain faces while a little mist still lingers on the valley floor. After around 10 a.m., the light becomes harsh and the bridge is covered in patchy shadows, making clean images difficult.
- Shooting direction: From the approach on the eastern bank, point your camera northwest so the bridge, trees, and mountains layer over one another. There is also a small path along the riverbank—drop down a little to include the water in the foreground.
- Suggested focal lengths: 70–135 mm is the secret here. Stand farther away and use a telephoto lens to pull the mountain dramatically closer behind the bridge; from nearby with a 24 mm lens, the mountain recedes into a weak outline. Use a wide angle only when standing on the bridge itself and emphasizing the cables rushing into the distance.
- How to keep people out of the frame: The bridge is narrow and sways, so people cross fairly quickly—wait patiently for 1–2 minutes and you’ll usually get a clear gap. Weekends are different: arrive before 7 a.m., or accept putting a person in the middle of the bridge as a sense-of-scale element. Honestly, the version with someone in it is often better than the empty one.
4. Aoni Historic Village and Terraced Fields Overlooking the Alps
A small village stretches across the eastern slope of the valley, with steep-roofed wooden houses and terraced fields descending in layers. From the upper fields, you can see the entire Northern Alps across the valley. This is the place in Hakuba that most strongly evokes “old Japan”—and it is also the quietest of the well-known spots.
- Best time: Early morning, especially after a cold night—the fog settles across the valley floor and the village seems to float like an island. Late afternoon is beautiful in a different way: slanting sunlight emphasizes each terrace wall, but the mountains are already backlit.
- Shooting direction: Face west–northwest from the upper edge of the fields, looking down. Walk along the village road to find a terrace with a graceful curved edge to use as a leading line.
- Suggested focal lengths: 35–70 mm to include both the village and mountains. Add 100–200 mm to compress the terraces into undulating bands—those are the memorable images in Aoni. Use a wide angle only when you have a strong foreground, such as a persimmon rack or a bundle of drying straw.
- How to keep people out of the frame: The issue here isn’t people but respect. This is a living village, not a museum: park only in designated areas, stay off the field edges, don’t point your lens into homes or at windows, and don’t fly a drone. The road to the village is narrow and steep, and vehicle access may be restricted during peak season—check with the village or tourist information center before driving up.
5. Lake Aoki — Forest Reflections on Clear Water
This famous clear lake south of the valley is surrounded on three sides by broadleaf-covered mountain slopes. In autumn, entire swaths of red-orange forest are reflected in the water, creating a “double mirror” effect—red above and red below. If I could choose only one lake for a full morning, this would be it.
- Best time: From first light until around 8:30 a.m. After that, a light breeze usually comes up and gradually breaks the reflection. If you miss the morning, return in the late afternoon, when the wind often dies down for a second time that day.
- Shooting direction: Stand on the eastern shore and face west to capture the forested slope in direct early-morning light. The western shore is quieter and works well for minimalist images: one tree trunk, a stretch of water, and a band of color.
- Suggested focal lengths: 24–70 mm for wide scenes; 100–300 mm to isolate patches of color on the opposite shore—these abstract images often have more impact than a full landscape. Be careful with a polarizing filter: turning it all the way can erase the reflection, so rotate it gently until the colors are rich while the reflection remains.
- How to keep people out of the frame: The lake is wide, so people rarely enter the frame if you shoot at water level. The things that most often ruin a shot here are canoes and fishing-marker posts. Arrive before the paddling tours begin, or point your camera toward a section of shore without a dock. If a canoe drifts across the frame, wait until it reaches one of the thirds—it then becomes a subject rather than clutter.
6. Lake Nakatsuna — The Smallest Lake, with the Deepest Reflections
Located right beside Lake Aoki, Nakatsuna is much smaller, so it is better sheltered from the wind and keeps its flat surface longer. The mountain slopes rise close to the shore, meaning the frame can be filled almost entirely with leaf colors and their reflections. Very few Vietnamese visitors know about this place.
- Best time: Early morning, and it is also a great fallback on overcast days—diffused light makes the foliage colors much more saturated than harsh sunlight.
- Shooting direction: Face west and eliminate the sky entirely. This is one of the rare places where you should deliberately shoot a frame without any sky: just forest and water, divided by a horizontal line.
- Suggested focal lengths: A 70–200 mm lens will be useful almost all day. With 24 mm, you’ll include the highway and railway behind you, while a telephoto lens removes everything extraneous from the frame.
- How to keep people out of the frame: Since the lake is close to the road, the biggest risks are vehicles and fishing rods, not tourists. Choose a section of shore where bushes screen the road, tuck yourself in, and shoot at an angle. Never stop a car in the roadway to take photos—find a legal parking area and walk back.
7. Tsugaike Nature Park — High-Elevation Marshland and Three Layers of Color
At around 1,900 meters, this is the clearest place to see sandan kōyō: golden marshland in the foreground, red-orange forest in the middle, and snow-covered mountains closing the background. The wooden boardwalk is flat, and visitors in ordinary sneakers can complete the entire loop.
- Best time: Completely dependent on the gondola schedule—it usually doesn’t start earlier than around 8 a.m., so sunrise here is unrealistic. Aim for the first ride and accept that the sun will already be up; in return, around 9–10 a.m. the light is still angled enough to separate the layers.
- Shooting direction: The mountains lie south–southwest of the marsh, so in the morning the angled light comes from the left. Avoid photographing directly into the mountains around midday—it will be backlit and flat.
- Suggested focal lengths: 16–35 mm to use the boardwalk as a leading line (stand in the middle of the path and lower the camera to hip height); 70–200 mm to compress the three color layers into a true “sandan” image.
- How to keep people out of the frame: The flow of people on the boardwalk is fairly steady, but the marsh is expansive—walk another 15–20 minutes toward the deeper marshes and the crowds thin out considerably, since most visitors only take the short loop near the station. You can also use the gap right after a tour group passes; there are usually 2–3 quiet minutes before the next group arrives.
8. Matsukawa Bridge — A Pink Mountain Wall at Sunrise
This bridge crosses the Matsukawa River in the village, and looking upstream from it gives you a full view of the three Shirouma peaks lined up together. It’s the easiest spot on the list: no gondola, no hike, just an early wake-up.
- Best time: The 15–25 minutes around the moment sunlight touches the mountain peaks. The snowy slopes shift from blue to pink and then pale gold within a few minutes—miss it and the moment is gone. Arrive at least 20 minutes before sunrise.
- Shooting direction: Face west–northwest along the riverbed. Use the rocky stream and flowing water as leading lines toward the base of the mountains.
- Suggested focal lengths: 24–50 mm for the river-and-mountains view; 100–200 mm if you want the three peaks to fill the frame, with a strip of changing forest in front. Vertical compositions are often stronger here than horizontal ones.
- How to keep people out of the frame: At that hour, people are rarely the issue—cars are. This is a real road, not a viewing platform: don’t stop on the bridge or set up a tripod in the way. Find a legal parking spot nearby, walk out, and stand close to the inside railing.
9. Olympic Ski Jump Stadium — Looking Down the Inrun into the Valley
A legacy of the 1998 Winter Olympics, the stadium allows visitors to ride a lift and chairlift up to the starting area at the top of the inrun. From there, the two jump tracks plunge directly toward the golden valley below—a very different image from a conventional autumn landscape, and one that almost no Vietnamese visitors photograph.
- Best time: Mid-morning to early afternoon, when the valley is bright enough to retain detail in the shadows. Opening hours and whether the lift and chairlift operate outside the snow season vary by season—check the official website before driving there.
- Shooting direction: From the observation deck at the top, point your camera down the inrun toward the valley to emphasize the vertiginous perspective.
- Suggested focal lengths: 16–24 mm to exaggerate the slope (this is one of the few places where an ultra-wide lens is genuinely the right tool); 70–200 mm to isolate the red forest and village rooftops below.
- How to keep people out of the frame: The top area is fairly cramped, but visitor numbers are light and groups rotate with each lift. Wait for the group ahead to go down, then shoot—you’ll often have the entire 5 minutes to yourself. The wind is very strong up there, so wear your camera strap and secure your lens cap.
10. Himekawa River Source and Ōumi Marsh — A Backup for Rainy Days
South of the village is a crystal-clear spring area and a small marsh connected by a flat walking trail that takes only about 30–40 minutes to complete. There are no dramatic snowy mountains, but it offers something the other nine locations don’t: water clear enough to see every strand of swaying algae, and marsh grass that turns a rich golden brown late in the season.
- Best time: Cloudy days or immediately after rain are ideal—there are no harsh shadows and the colors appear evenly saturated. This is the place to save for a day when bad weather ruins your mountain plans.
- Shooting direction: Point the camera down at the water; the direction barely matters. The focus here is detail, not a sweeping landscape.
- Suggested focal lengths: 50–100 mm or a macro lens. A polarizing filter is essential here—rotate it until the reflection disappears from the water’s surface, revealing the streambed as clearly as an aquarium.
- How to keep people out of the frame: The area is usually quiet, so simply avoid weekend lunchtime. Walk slowly and shoot close, and there is almost no risk of anyone entering the frame.
How to Organize Two Days of Shooting
If you have two days, the most effective way to divide them is by elevation, not by map location:
- Day 1 — low elevations in the morning, higher elevations in the afternoon: Get up early for sunrise at Matsukawa Bridge, head over to Ōide Suspension Bridge when the light is just right, have a late breakfast, then take the gondola to Iwatake in the middle of the day. Spend the afternoon relaxing around Lakes Aoki and Nakatsuna, finishing with golden hour by the water.
- Day 2 — a full day in the high country: Take the earliest lift to Happo-one, hike to Happo-ike, and come back down in the early afternoon. If you still have the energy and the weather remains good, spend the afternoon at Tsugaike; if the weather turns, switch to Aoni Village or the Himekawa spring area.
You can reverse the order too, as long as you follow the basic rule: mountains in the morning, lakes when the wind is calm, villages in slanting light.
Gear: What to Bring and What to Leave Behind
- A lightweight tripod: Useful for sunrise shots and long exposures at the lakes. But if you’re hiking to Happo-ike, think carefully—a kilogram added to a steep, rocky trail feels like a lot more fatigue.
- A polarizing filter: The most valuable accessory for autumn. It reduces reflections on leaves and makes red and orange tones visibly richer. Remember the rule: turn it too far and you lose reflections on the water; turn it moderately and you get both.
- A spare battery kept warm in an inner pocket: At 2,000 meters, mornings can be only around 5 degrees, and batteries drain twice as fast as usual.
- A lens cloth: Mist and condensation when moving from the cold into a warm café and back outside happen constantly.
- Three layers of clothing: A warm base layer, fleece or a light down jacket in the middle, and a waterproof windbreaker on top. Standing still to take photos is much colder than walking.
- A headlamp: If you plan to catch sunrise, you’ll be walking in the dark for at least 10–15 minutes.
A Few Courtesies Not to Skip
Hakuba in autumn is still a place where people live and farm, not a film set. A few things to remember: don’t step into fields or onto terrace edges even when they look like empty ground; don’t stop on the roadway or on a bridge to take photos; don’t set up a tripod that blocks a narrow trail or boardwalk; and ask before taking close-up portraits of strangers. Drone regulations vary by area, and many places in the valley are restricted zones or require permission. If you plan to fly, check the current regulations and contact the local area manager beforehand.
And one small but very Japanese point: on trails, people going downhill yield to those coming uphill. If you stop to take a photo, step fully to the side instead of standing in the middle of the path.
Frequently Asked Questions
What is the safest time in autumn if I can only visit once?
If you have only one trip and want to photograph both the mountains and the villages, mid-October is usually the best compromise: the higher elevations still have color, the lower areas are beginning to change, and there is still a good chance of seeing three layers of color. But this is only a guideline—every year varies by several days to more than a week, so you still need to check the foliage reports shortly before your trip.
Can I get good photos with just a phone?
Absolutely, and at most of the 10 locations the difference is not significant—the decisive factors are where and when you shoot. Phones struggle most with compositions that require telephoto perspective compression: Ōide Suspension Bridge and Aoni’s terraced fields. To compensate, use RAW mode if your phone offers it, lock exposure on the brightest area (the snowy slopes) to prevent blown highlights, and wipe the lens before every shot—autumn mist can leave a haze that is difficult to see with the naked eye.
Is it possible to visit all 10 locations in one day?
Not recommended. You could technically drive to them all, but you would arrive at every location at the wrong time of day and go home with ten mediocre photos. Three or four locations done well, timed to each place’s ideal light, will produce much better results. If I had only one day, I would choose: sunrise at Matsukawa Bridge, morning at Ōide Suspension Bridge, Iwatake in the middle of the day, and late afternoon at Lake Aoki.
How do I get around without a car?
The locations around the village center—Ōide, Iwatake, Happo-one, and the Olympic ski jump stadium—can all be reached by local bus and on foot, although buses are infrequent, so check the timetable in advance. The hardest places are those that require an early arrival for sunrise and remote locations such as Aoni Village or the southern lakes, since buses won’t be running yet. The practical options are to rent a car or stay somewhere that offers a shuttle service and ask the owner in advance—many accommodations in Hakuba are happy to drive guests to an early-morning viewpoint if arranged ahead of time.
Should I cancel the photo trip if it rains all day?
Don’t. Rain and mist are actually excellent conditions for forest photography: foliage colors become more saturated, wet tree trunks provide a dark contrasting background, and mist between the branches creates depth that sunny days don’t offer. Switch from wide landscapes to forest scenes and details—the Himekawa spring area, the path along Lake Aoki, or simply a patch of roadside forest. Just protect your camera carefully and bring extra cloths.
How late do the lifts and gondolas run in autumn?
The high-elevation routes usually operate until around early November, then close while preparing for the snow season, but closing dates and the final departure time vary between areas and can change with the weather. This is something you absolutely shouldn’t guess: check the official website of the lift area you plan to visit right before you go. Also note the final ride down the mountain—the temperature drops and darkness arrives quickly, and missing the last ride makes for a very long evening.
More from this region — Chubu (Nagano, Kanazawa)
View all →
Hakuba 2026 — The Complete Camp & Outdoor Guide
2 min · tips
Hakuba in Autumn and the “Three-Tiered Fall Foliage” Phenomenon: Catch the Right Two Weeks in Late October
20 min · tips
Hakuba Valley Guide to 10 Ski Resorts: Happo-One, Tsugaike, and Top Picks for Advanced Skiers
18 min · スキー
Kamikochi Hiking Guide: Valley Trails, Access and Seasons
6 min · experiences