Photographing Tokyo From a Helicopter: Practical Tips
Camera tips for a Tokyo helicopter tour after the Asian Games in Nagoya: shooting through the window, settings, sunset timing and which flight length to pick.
Sep 5, 2026·✍️ olablog·⏱ 8 min read
Camera tips for a Tokyo helicopter tour after the Asian Games in Nagoya: shooting through the window, settings, sunset timing and which flight length to pick.
Tap a region to browse articles
If you are heading to Tokyo before or after the Asian Games Aichi-Nagoya 2026, a helicopter flight is the one place where you can photograph the whole city in a single frame. Around Tokyo, most flights leave from Tokyo Heliport in Shin-Kiba, including the Mt Fuji scenic flights, which fly out and back from there; the Skytree and twin towers night flights leave from Funabashi Heliport on the Chiba side of Tokyo Bay, the Saitama night flight from Misato Heliport, and the heliport for the Yokohama night flight is confirmed together with your date. There is no helicopter product in Nagoya, so this is an add-on for the Tokyo leg of your trip, about 1h40 away by Shinkansen.
The photography problem is simple to state and hard to solve on the day: you are moving, you are shooting through a window, and the light changes fast. Most of the good decisions happen before you board. This guide covers what to set, what to skip, and which flight length gives a photographer enough time to work.
Pick the flight for the light, not the length
The product list on the Tokyo page runs from a 10-minute taster to a 30-minute panorama, plus night flights. For photographers, the deciding factor is when you fly, not how long.
| Flight | Duration | Seats | Price per guest (min. 2) | Best for |
|---|---|---|---|---|
| Tokyo first flight | 10 min | 3 | ¥53,820 | A few skyline frames, tight budget |
| Skytree daytime | 15 min | 3 | ¥82,350 | Clean daylight, landmark shots |
| Tokyo panorama | 30 min | 3 | ¥164,700 | Time to change lenses and work angles |
| Sunset and night | 30 min | 5 | ¥311,850 | Blue hour into city lights |
| Skytree night | 22 min | 3 | ¥97,200 | Night cityscape, lower cost |
| Twin Towers night | 25 min | 3 | ¥110,700 | Night cityscape, second route |
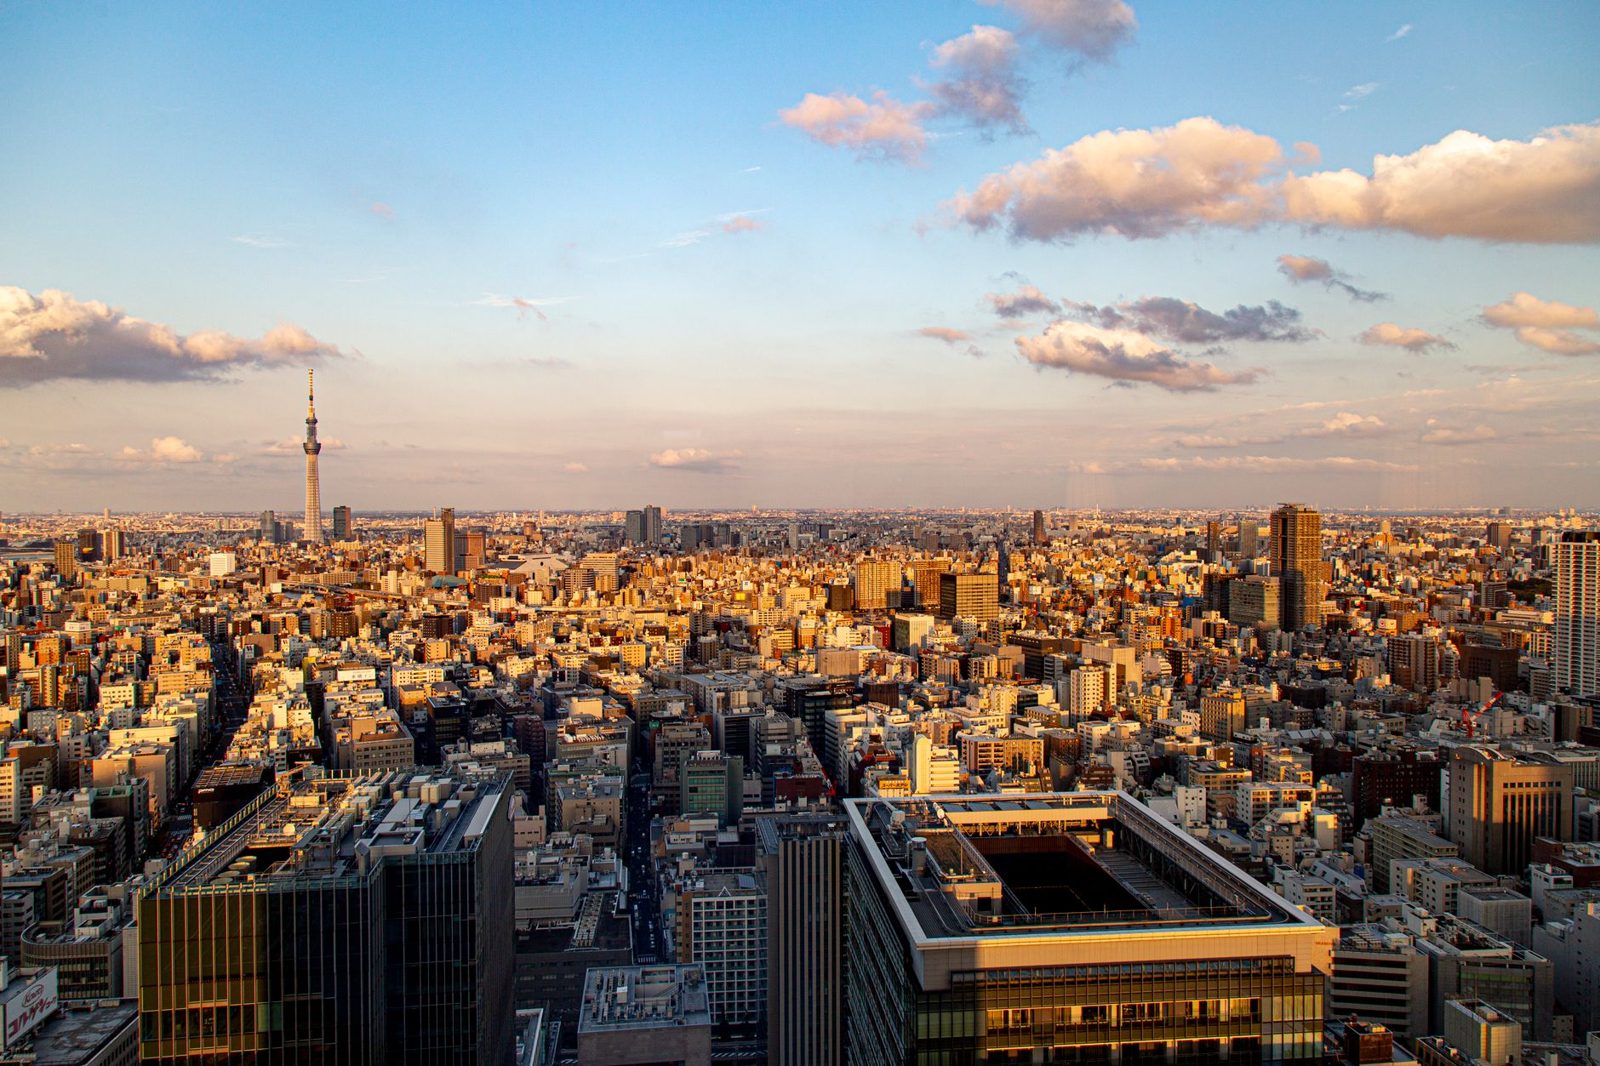
The daytime 15-minute flight is the safest first choice: enough light for fast shutter speeds and a short enough duration that you can concentrate. The 30-minute panorama gives room to recover from a bad first few minutes. Night flights are spectacular to watch and difficult to shoot well; treat them as a second visit rather than a first attempt.
Check the calendar on the product page for available slots on your date. Times shown are meeting times, and the flight itself begins roughly 30 minutes after that, so factor that in when you are aiming for a particular quality of light.
Shooting through a window
Assume you are photographing through glass. That changes three things.
First, reflections. Wear dark clothing and avoid anything white or reflective on your hands and wrists. A rubber lens hood pressed lightly against the window kills most reflections, and it also stops the lens knocking against the glass with vibration.
Second, do not brace the camera against the airframe. Hold it in free air with your elbows tucked in. The helicopter vibrates, and a camera pressed against the door transmits that shake straight into the sensor.
Third, keep the lens square to the window; steep angles through glass soften the image.
Camera settings that survive vibration
You are moving and vibrating, so shutter speed is the setting that matters most.
- Shutter speed: 1/1000 s or faster in daylight. Do not go below 1/500 s for anything you want sharp.
- Aperture: f/4 to f/5.6. You do not need depth of field; everything is far away.
- ISO: let it float. Auto ISO with a minimum shutter speed set is the easiest way to run the camera.
- Focus: single point, continuous focus, aimed at the landmark rather than the window.
- Stabilisation: leave it on for handheld work.
- Format: RAW, so you can correct the slight colour cast from the glass afterwards.
On a phone, lock exposure on a bright area of the city and turn off automatic HDR, which ghosts on a moving platform.
Lenses: bring fewer than you think
A 24-70 mm zoom on a full-frame body covers nearly everything on a Tokyo flight: wide enough for the bay and skyline, long enough to isolate the Skytree or the Tokyo Tower area. Swapping lenses in a 3-seat cabin is awkward and you miss things while you do it.
Cabins on these flights hold 3, 4 or 5 people depending on the product, and there is a weight limit of 120 kg per seat, with the cabin total set by the seat count (220 kg for a 3-seat cabin). Camera bags count. A body, two lenses and a spare battery is a realistic kit; a rolling case is not.
The sunset flight, minute by minute
The 30-minute, 5-seat sunset flight at ¥311,850 per guest is the one photographers ask about most, because it moves from golden light into city lights during a single flight. That is also what makes it hard.
Plan your settings in two halves. Early on there is light for 1/500 s and modest ISO. As the sky darkens, open to your widest aperture, accept ISO 3200 to 6400, and hold 1/250 s as a floor so the lights do not smear.
Sunset times in October are earlier than in high summer, and they shift day by day, so check the sunset time for your specific date and match it against the meeting times the calendar shows.
Night flights: manage expectations
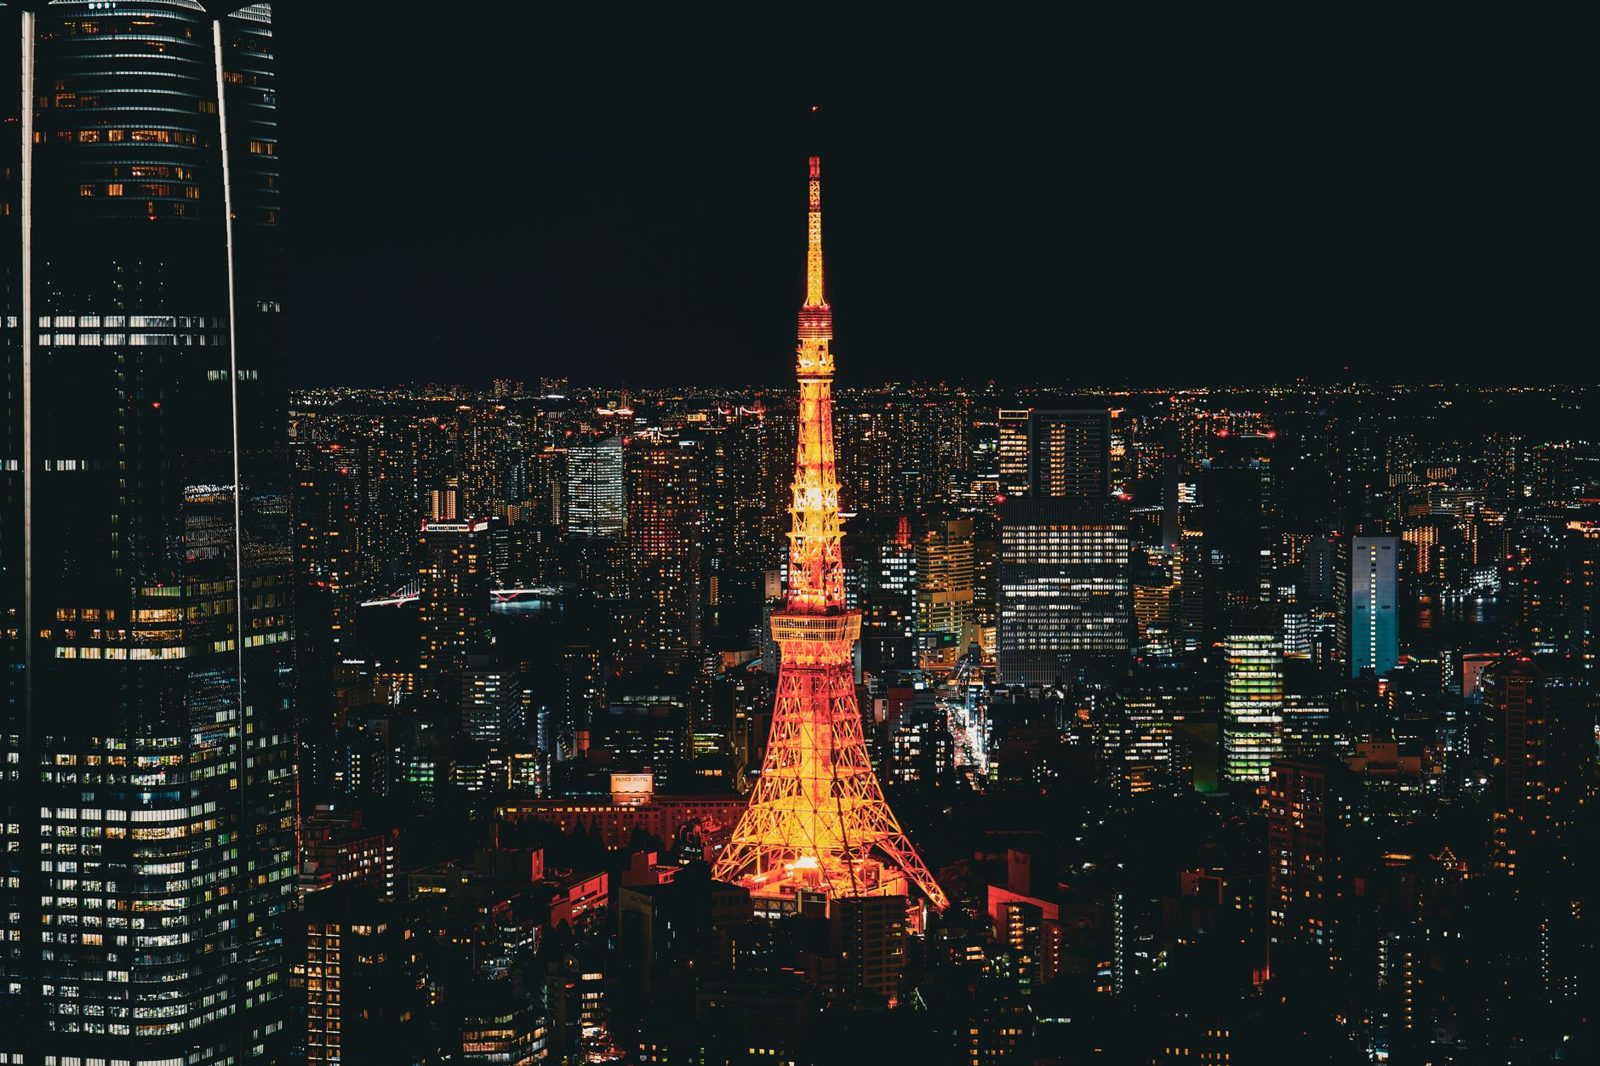
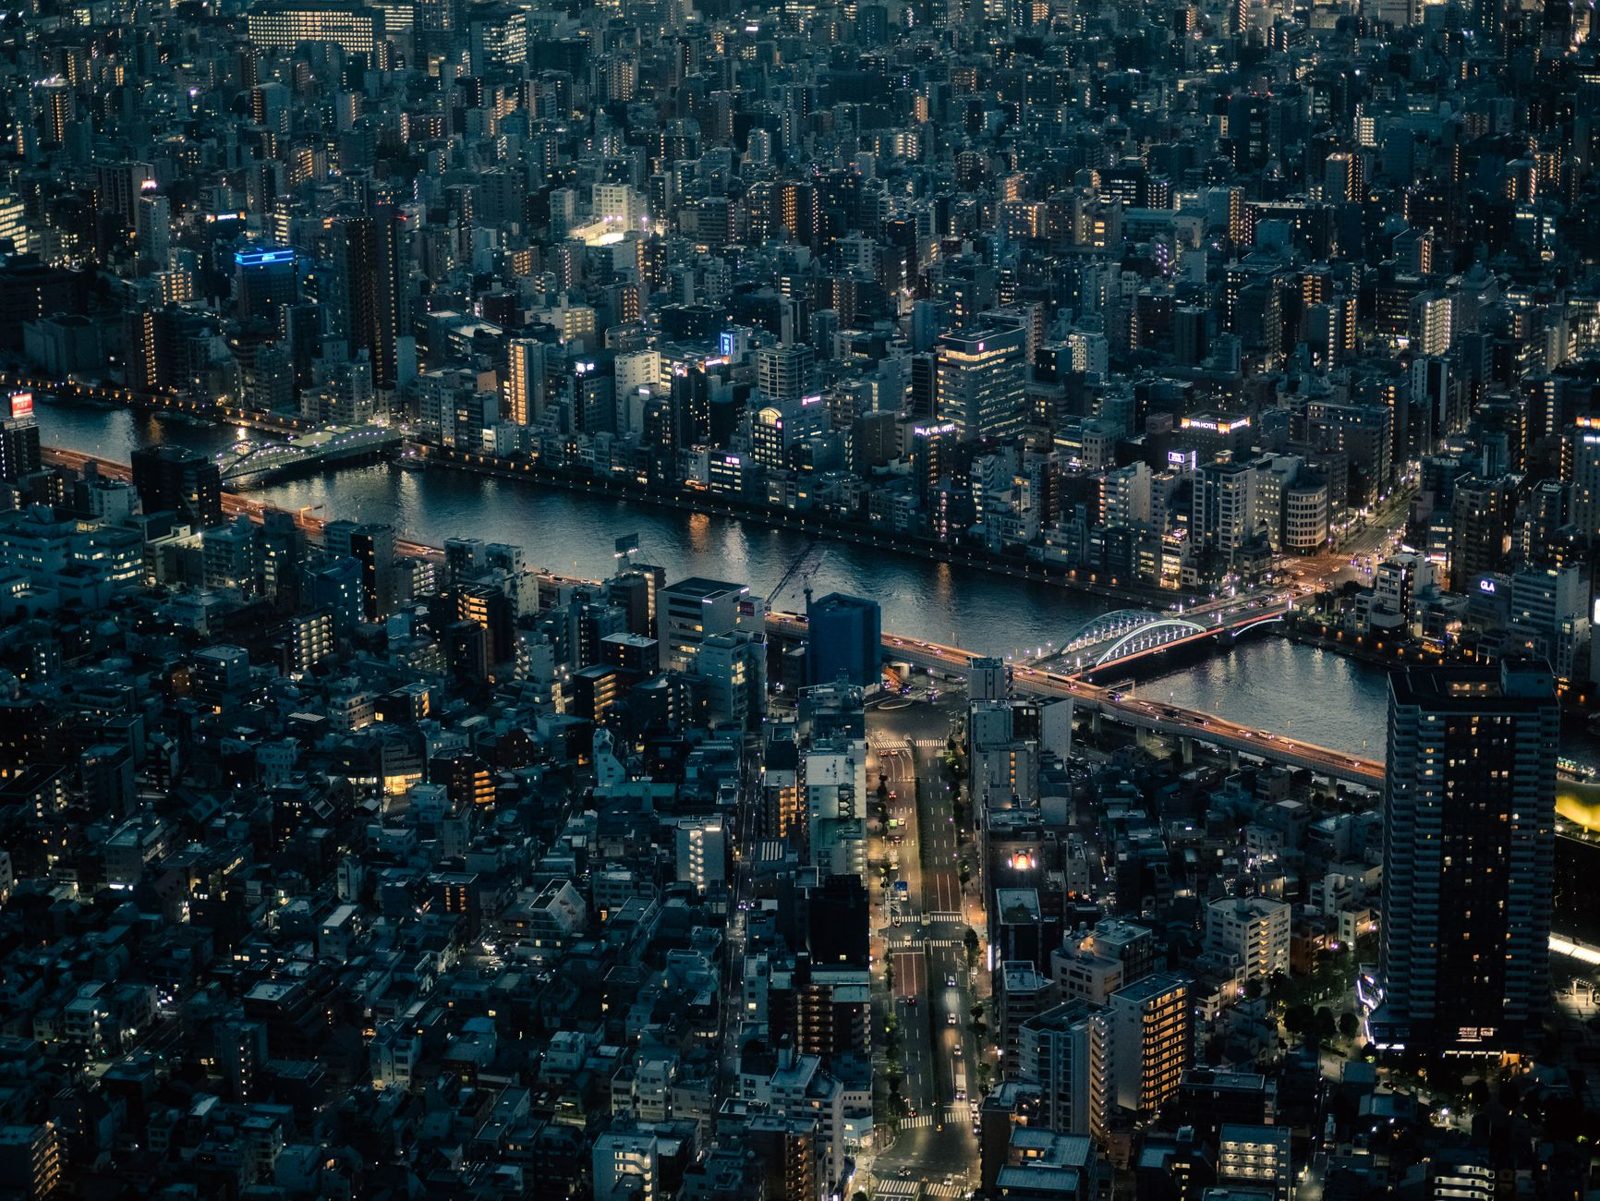
The Skytree night flight (22 minutes, ¥97,200 per guest) and the Twin Towers night flight (25 minutes, ¥110,700 per guest) are among the most memorable experiences on the list, and among the hardest to photograph. Light levels are low, the platform moves, and the window reflects the cabin.
If you fly at night with a camera, use a fast prime, keep the shutter around 1/125 s to 1/250 s, let ISO go high, and dim every screen in the cabin including your phone. Then put the camera down for a few minutes. Your eyes will get more from the flight than the sensor will.
Leave the drone at home
This is a helicopter flight over a major city. Drones have nothing to do with it and there is no scenario in which one comes along. Any aerial images from your trip come from the seat you booked.
Weather, refunds and rebooking
Late September and October is still typhoon season in Japan. If weather cancels the flight, you get a full refund or a free date change. You can also change the date free of charge up to 4 days before the flight, which is useful if the forecast for your booked date looks grey and you have a spare day in Tokyo. Payment is online at booking.
How to book with OlaChill
Choose your flight from the Tokyo helicopter page, check the calendar for your date, and pay online; you can browse the daytime and sunset options at https://olachill.com/en/japan-helicopter-tours/tokyo and the after-dark routes at https://olachill.com/en/japan-helicopter-tours/tokyo/night. If Mt Fuji is the subject you want, the longer flights are listed at https://olachill.com/en/japan-helicopter-tours/mt-fuji.
FAQ
Can I open the window to shoot?
Plan on shooting through glass. Bring a rubber lens hood and wear dark clothing to cut reflections. If anything differs on the day, the crew briefing will tell you.
Which seat is best for photos?
You cannot usually choose your seat in advance, and the crew allocates seats partly by weight balance. Every seat has a window, so prepare to shoot from whichever side you are given and keep both directions in mind as the route turns.
Is a 10-minute flight long enough for photos?
You will get a handful of skyline frames and not much more. It is fine for a phone and a few keepsakes. If you are carrying a real camera, the 15- or 30-minute daytime flights give you time to settle and work.
Can I bring a large camera bag?
Space is limited in a 3-seat cabin and weight is capped at 120 kg per seat, 220 kg for the cabin. Bring one small bag with a body and one or two lenses. Leave the tripod, rolling case and extra bodies at the hotel.
What if it rains on my booked date?
Weather cancellations are refunded in full or moved to another date at no charge. If you can see bad weather coming, you may also change the date yourself free of charge up to 4 days before the flight.