eSIM vs Pocket WiFi vs SIM for Indian & Bangladeshi Tourists in Japan
Navigate Japan's connectivity maze for Indian & Bangladeshi travelers. Compare eSIM, Pocket WiFi, and SIM, with INR/BDT pricing, activation tips, and coverage realities.
Jul 10, 2026·✍️ olablog·⏱ 20 min read
Navigate Japan's connectivity maze for Indian & Bangladeshi travelers. Compare eSIM, Pocket WiFi, and SIM, with INR/BDT pricing, activation tips, and coverage realities.
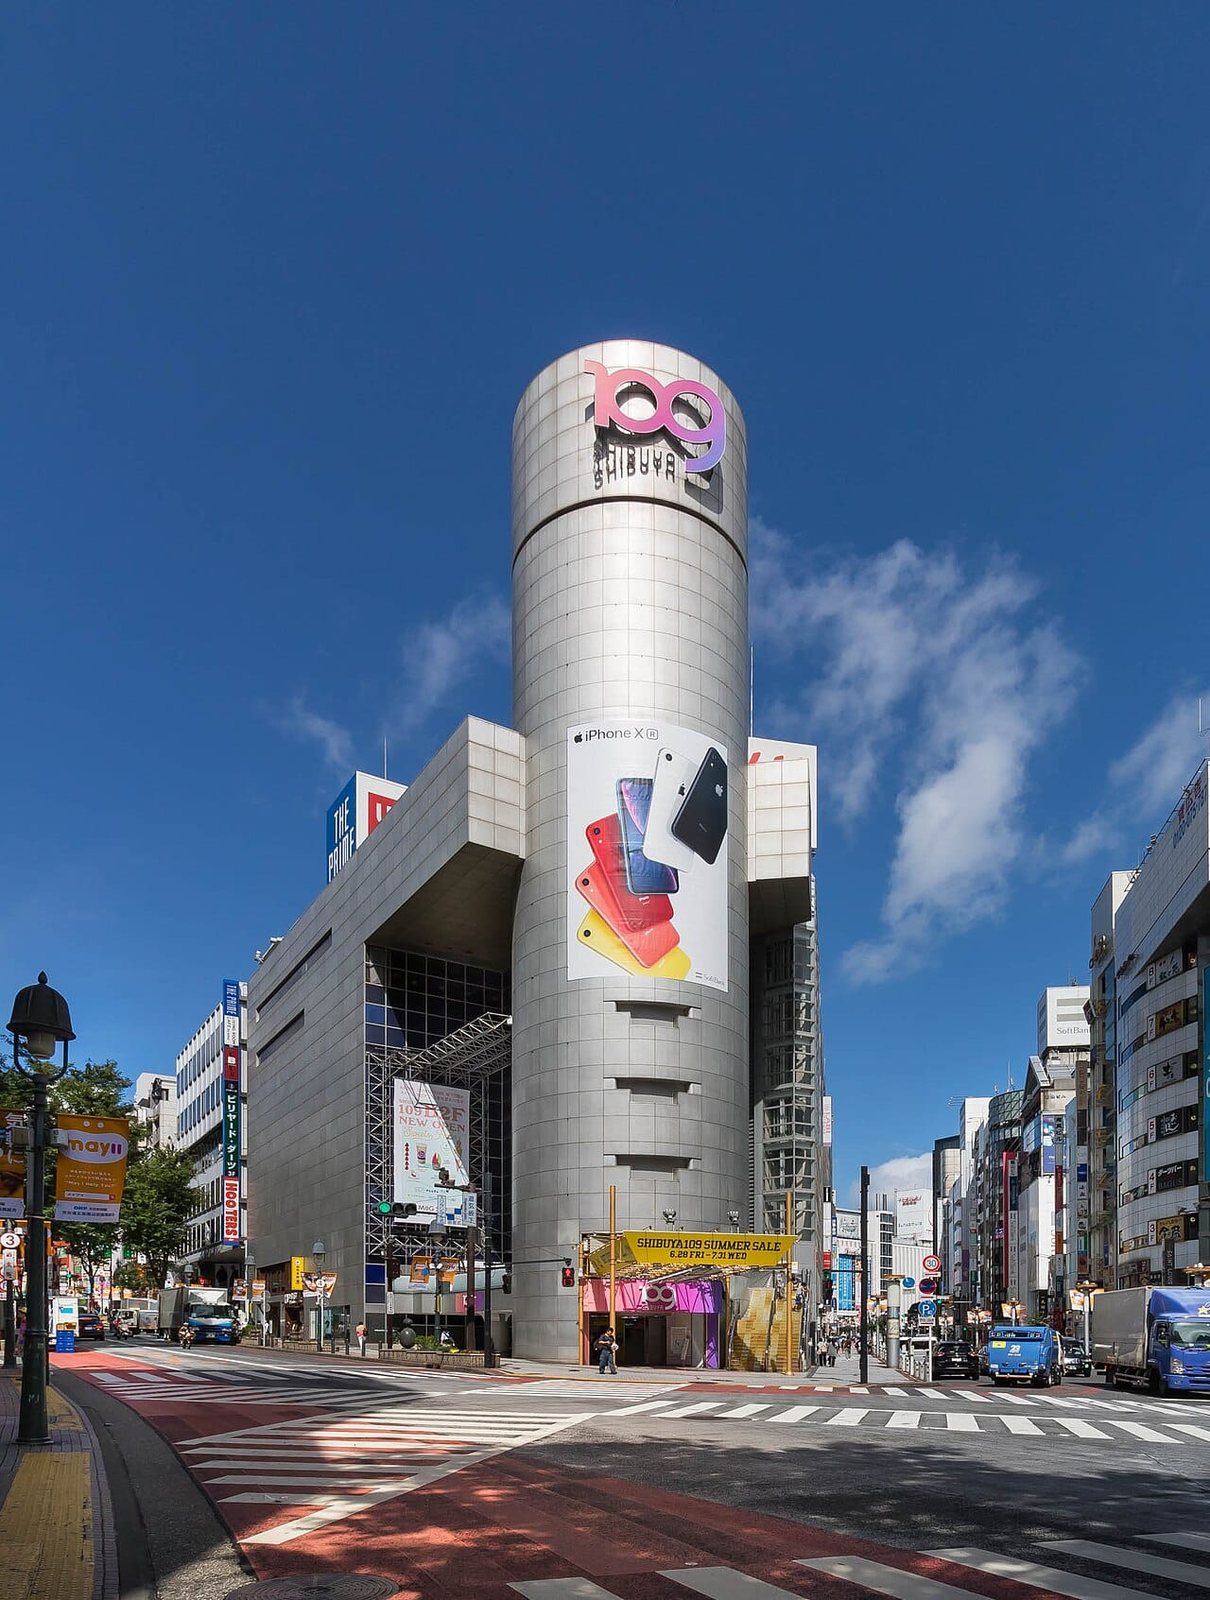
Planning your first (or even second) trip to Japan from India or Bangladesh brings a unique mix of excitement and practical considerations. One of the most critical aspects, often underestimated, is staying connected. Imagine navigating the bustling Shibuya Crossing, deciphering a train schedule that feels more complex than a Kolkata tram route map, or finding that specific vegetarian ramen joint in Kyoto – all without reliable internet. From seamless navigation to instant translation and sharing those breathtaking photos, data connectivity is no longer a luxury but a necessity. Getting it wrong can lead to unnecessary stress and expense. For approximately ¥3,000 (around ₹1,680 or BDT 2,100) for a week's data, you can ensure a far smoother journey.
Understanding Your Connectivity Needs for Japan
Before diving into the specifics of eSIM, Pocket WiFi, and physical SIM cards, it’s crucial to assess your personal travel style and data requirements. Japan boasts one of the most advanced mobile networks globally, but how you tap into it significantly impacts your experience and budget. Are you a solo explorer relying heavily on Google Maps and translation apps? Or a family of four needing constant communication and entertainment for children during transit? Perhaps you're a content creator uploading daily vlogs. Your answers will guide you toward the optimal solution.
Consider the duration of your trip. A quick five-day visit to Tokyo will have different needs than a three-week odyssey spanning Hokkaido to Okinawa. Your data usage will likely be higher than back home; you’ll be constantly searching for directions, checking train times (think of it like the extensive Delhi Metro network, but even more precise and punctual), looking up opening hours for temples and museums, and inevitably, sharing your experiences with friends and family back in India or Bangladesh. For those with specific dietary needs, like vegetarian or halal food, real-time access to apps like Halal Navi or HappyCow becomes invaluable for locating suitable restaurants, especially outside major tourist hubs. Public Wi-Fi, while available in some areas, is often unreliable, requires registration, and may not be secure for sensitive transactions. Relying solely on it can leave you stranded when you need information most.
eSIM: The Digital Revolution for Indian & Bangladeshi Travelers
The eSIM, or embedded SIM, is a game-changer for international travelers, particularly for those visiting Japan. Instead of a physical chip, an eSIM is a digital SIM profile downloaded directly to your phone. This means no more fumbling with tiny SIM trays, hoping you don't lose your home SIM card, or hunting for a vendor immediately upon arrival.
How it Works: You purchase an eSIM plan online from a provider like Airalo, Ubigi, or Holafly. They send you a QR code via email. You scan this QR code with your compatible smartphone, follow a few simple steps, and voilà – your Japan data plan is activated. The beauty of this is that you can do it all before you even leave India or Bangladesh. Imagine landing at Narita or Haneda Airport, stepping off the plane, and already having data connectivity the moment you switch off airplane mode. This seamless transition is incredibly reassuring, especially after a long flight, knowing you can immediately check transport options or message loved ones.
Pros for Indian & Bangladeshi Tourists:
- Convenience: Activate before departure, eliminating airport queues or the stress of finding a physical SIM vendor. You can literally switch on your data as soon as you land.
- Dual SIM Capability: Most eSIM-compatible phones allow you to keep your home SIM active for calls/SMS while using the eSIM for data. This is ideal for receiving important OTPs or staying in touch with family on your primary number.
- Flexibility: Easily switch between different data plans or providers if your travel plans change or you need more data.
- Eco-Friendly: No plastic waste from physical SIM cards.
Cons to Consider:
- Device Compatibility: Not all smartphones support eSIM. Newer iPhone models (XS and above), Google Pixel phones (3 and above), and some Samsung Galaxy devices are generally compatible. Always check your specific phone model before purchasing.
- Troubleshooting: While activation is usually straightforward, any technical hiccups would require an internet connection to contact support, which can be a Catch-22 if your eSIM isn't working.
- No Local Number: Most tourist eSIMs are data-only, meaning you won't have a local Japanese phone number for calls, though messaging apps like WhatsApp or Line will work perfectly.
Pricing Examples (approximate, always check current rates): eSIM plans vary by data allowance and validity period. Here are some typical examples and their approximate conversions:
| Provider Example | Data | Validity | Price (¥) | Price (₹ approx) | Price (BDT approx) | Notes |
|---|---|---|---|---|---|---|
| Airalo (basic) | 5 GB | 8 Days | ¥1,800 | ₹1,008 | BDT 1,260 | Good for short trips, moderate use |
| Ubigi (mid-range) | 10 GB | 15 Days | ¥3,200 | ₹1,792 | BDT 2,240 | Popular choice for 1-2 week itineraries |
| Holafly (unlimited) | Unlimited | 7 Days | ¥4,500 | ₹2,520 | BDT 3,150 | Higher price, but peace of mind for heavy users |
| Airalo (long-stay) | 20 GB | 30 Days | ¥5,500 | ₹3,080 | BDT 3,850 | Best value for extended stays |
Conversion Rate: ~₹0.56 per ¥1, ~BDT 0.70 per ¥1 (as of 2026)
Activation Process:
- Purchase Online: Select your desired plan and complete the payment.
- Receive QR Code: An email with a QR code and instructions will be sent to you.
- Scan & Install (Before Departure): Go to your phone's Settings > Cellular/Mobile Data > Add Data Plan. Scan the QR code. Follow prompts to label your eSIM (e.g., "Japan Travel").
- Activate (Upon Arrival): Once in Japan, switch off airplane mode. Go to your phone's Cellular/Mobile Data settings, select your "Japan Travel" eSIM for mobile data, and ensure data roaming is enabled for this line (this uses your eSIM plan, not your home provider's expensive roaming). Your home SIM can remain active for calls/SMS.
Hotspot Sharing: Most eSIMs from major providers (like Airalo or Ubigi) allow personal hotspot sharing, but it's crucial to verify this with the specific plan you purchase. If you're traveling as a couple or a small family, one person with an eSIM that allows hotspot could potentially share data, making it a viable alternative to Pocket WiFi for lighter usage. However, constantly running a hotspot can drain your phone's battery quickly, so a power bank is essential.
Coverage Reality: eSIMs leverage the networks of major Japanese carriers (NTT Docomo, au, or SoftBank). This means excellent 4G/5G coverage in all major cities and towns. Outside these urban centers, in mountainous regions, or very rural areas, coverage can occasionally be spotty, similar to how network strength might fluctuate in remote parts of the Himalayas or the Sundarbans. For most tourist routes, you'll experience robust connectivity.
Pocket WiFi: The Group Traveler's Best Friend
For families, groups of friends, or even couples with multiple devices, a Pocket WiFi router often emerges as the most cost-effective and convenient solution. This small, portable device acts as a personal Wi-Fi hotspot, allowing multiple users to connect simultaneously.
How it Works: You rent a Pocket WiFi device, usually online before your trip. Upon arrival, you pick it up at the airport, have it delivered to your hotel, or even shipped to your home address in India/Bangladesh (less common). You simply turn it on, connect your devices to its Wi-Fi network using the provided password, and you're online. At the end of your trip, you return it via a designated drop-off point or a prepaid envelope.
Pros for Indian & Bangladeshi Tourists:
- Shareable: Connect up to 5-10 devices simultaneously (phones, tablets, laptops), making it highly economical for groups.
- Unlimited Data (often): Many Pocket WiFi plans offer truly unlimited 4G LTE data, meaning no worries about hitting caps, which is fantastic for heavy users, streaming, or video calls back home.
- Dedicated Device: Doesn't drain your phone's battery for internet access.
- Easy Setup: No SIM card swapping or complex settings; just connect to Wi-Fi.
Cons to Consider:
- Another Device to Carry: It's an extra gadget you need to keep charged and remember.
- Pickup/Return Logistics: Requires planning for pickup at the airport or hotel delivery/return. Missing a return deadline can incur late fees.
- Battery Life: Typically lasts 8-12 hours on a single charge, so carrying a power bank for the Pocket WiFi itself is crucial for full-day excursions.
- Single Point of Failure: If the device is lost, damaged, or runs out of battery, your entire group loses connectivity.
Pricing Examples (approximate, always check current rates): Pocket WiFi rentals are usually charged per day. The longer you rent, the lower the daily rate often becomes. Insurance and power banks are usually optional add-ons.
| Provider Example | Data | Validity | Daily Price (¥) | 7-Day Total (₹ approx) | 14-Day Total (₹ approx) | Notes |
|---|---|---|---|---|---|---|
| Japan Wireless | Unlimited | Per Day | ¥500 - ¥700 | ₹1,960 - ₹2,744 | ₹3,920 - ₹5,488 | Reliable, good for groups |
| Ninja WiFi | Unlimited | Per Day | ¥600 - ¥800 | ₹2,352 - ₹3,136 | ₹4,704 - ₹6,272 | Popular choice, airport pickup |
| AnyFii | Unlimited | Per Day | ¥450 - ¥650 | ₹1,764 - ₹2,548 | ₹3,528 - ₹5,096 | Budget-friendly option |
Conversion Rate: ~₹0.56 per ¥1, ~BDT 0.70 per ¥1 (as of 2026)
Booking, Pickup, and Return:
- Book Online: Visit the official website of providers like Japan Wireless, Ninja WiFi, or AnyFii well in advance of your trip. Select your dates, data plan (usually unlimited), and desired pickup/return method.
- Pickup:
- Airport: Most convenient. Pick up at dedicated counters in major international airports like Narita (NRT), Haneda (HND), Kansai (KIX), or Chubu Centrair (NGO). Look for signs for "WiFi Rental" or the specific provider's name. Show your booking confirmation and passport.
- Hotel Delivery: Some providers can deliver the device directly to your hotel in Japan. Ensure your hotel is aware and accepts packages on your behalf.
- Post Office: Less common for tourists, but an option for delivery/pickup at specific post offices.
- Return:
- Airport Drop Box: The easiest method. Look for the provider's drop box at the airport (often near departure gates or in the arrivals hall).
- Prepaid Envelope: Many providers include a prepaid, self-addressed return envelope. You can drop this in any Japanese mailbox (red postal boxes are common everywhere, similar to mailboxes in Indian cities). This is useful if you’re departing from an airport without a drop box or if you want to return it before heading to the airport.
When it's Ideal:
- Families or groups of 2+ people traveling together.
- Heavy data users who need constant, unlimited access.
- Travelers with multiple devices (phone, tablet, laptop).
- Those who prefer not to tamper with their phone's SIM card.
Physical SIM Cards: The Traditional Approach
While eSIMs and Pocket WiFi have gained popularity, traditional physical SIM cards remain a reliable option for many, especially those who prefer a familiar method or whose phones aren't eSIM compatible.
How it Works: You purchase a physical data-only SIM card in Japan (or occasionally online before departure). You physically swap your home SIM card with the Japanese SIM. Your phone will then connect to the local network.
Pros for Indian & Bangladeshi Tourists:
- Familiarity: Many Indian and Bangladeshi travelers are accustomed to purchasing local SIMs when traveling abroad.
- Reliable Coverage: Directly uses major carrier networks (NTT Docomo, au, SoftBank), ensuring excellent coverage.
- No Extra Device: One less gadget to carry and charge compared to Pocket WiFi.
Cons to Consider:
- Phone Unlocking: Your phone must be unlocked to use a foreign SIM card. If your phone is locked to your home carrier, this option is a non-starter.
- Physical Swap: Risk of losing your tiny home SIM card while traveling.
- Activation: While often plug-and-play, some SIMs might require manual APN settings, which can be tricky without internet access or local language proficiency.
- No Local Number (usually): Most tourist SIMs are data-only. Full-service SIMs with voice/SMS for tourists are rare and more complex to acquire due to strict Japanese regulations.
- Limited Purchase Locations: You usually need to buy them at airports or large electronics stores; convenience stores rarely stock tourist SIMs.
Pricing Examples (approximate, always check current rates): Physical SIMs for tourists are typically data-only and come with fixed data allowances for a specific period.
| Provider Example | Data | Validity | Price (¥) | Price (₹ approx) | Price (BDT approx) | Notes |
|---|---|---|---|---|---|---|
| B-mobile (data) | 7 GB | 10 Days | ¥2,500 | ₹1,400 | BDT 1,750 | Good for short-term, moderate use |
| IIJmio (data) | 15 GB | 30 Days | ¥4,800 | ₹2,688 | BDT 3,360 | Better value for longer stays |
| Tourist SIM (airport) | 5 GB | 8 Days | ¥2,000 | ₹1,120 | BDT 1,400 | Convenient airport purchase, but check terms |
Conversion Rate: ~₹0.56 per ¥1, ~BDT 0.70 per ¥1 (as of 2026)
Where to Buy and How to Activate:
- Airports: Narita, Haneda, Kansai, etc., have vending machines or counters (e.g., JAL ABC, NTT Docomo, SoftBank) selling tourist SIMs. This is often the most convenient option upon arrival.
- Electronics Stores: Large retailers like Bic Camera or Yodobashi Camera in major cities stock a wider variety of tourist SIM cards. Staff might be able to assist with activation, but English proficiency varies.
- Online Pre-order: Some providers allow you to pre-order a SIM card to be delivered to your hotel in Japan.
Activation:
- Insert SIM: Carefully remove your home SIM and insert the Japanese SIM.
- APN Settings: For some SIMs, your phone might automatically detect settings. For others, you may need to manually input Access Point Name (APN) settings found in the SIM card's instructions. This is where having Wi-Fi access (e.g., airport Wi-Fi) initially can be helpful for looking up instructions if needed.
- Restart: Often, a quick restart of your phone will get the SIM connected.
Connectivity Beyond the Big Cities: The Reality Check
Japan is renowned for its technological prowess, and its mobile network infrastructure is top-tier. In major metropolitan areas like Tokyo, Kyoto, Osaka, and Fukuoka, you can expect lightning-fast 4G and increasingly common 5G speeds, regardless of whether you choose an eSIM, Pocket WiFi, or physical SIM. These options all rely on the same underlying network infrastructure provided by Japan's three main carriers: NTT Docomo, au, and SoftBank. Therefore, in terms of coverage area, there isn't a significant difference between the three connectivity methods.
However, the editorial angle demands a "reality check" for areas outside the bustling city centers. While Japan's network coverage is extensive, it's not absolutely ubiquitous, much like expecting seamless 5G in every remote village across India or Bangladesh.
- Mountainous Regions: If your itinerary includes venturing into the Japanese Alps, visiting remote onsen towns nestled in valleys, or hiking through national parks like Hakone or Fuji-Hakone-Izu, you might encounter areas with weaker signals or even dead zones. This is particularly true in tunnels, deep ravines, or heavily forested areas.
- Rural Islands: Trips to less-populated islands might also see reduced coverage compared to the main Honshu island.
- Underground and Specific Buildings: Even in cities, very deep subway lines (though Tokyo Metro generally has good coverage), basements of large department stores, or ancient temples with thick walls can sometimes interfere with signals.
What this means for you: While your connectivity option will generally serve you well, it’s always prudent to prepare for potential signal drops in truly remote or challenging terrains. This is where practical tips become vital:
- Download Offline Maps: Before heading out to a less connected area, download offline maps for Google Maps or use dedicated offline map apps like MAPS.ME. This ensures you can navigate even without a live data connection.
- Screenshot Important Information: Take screenshots of booking confirmations, train schedules for local lines, or directions to your accommodation if it's in a secluded spot.
- Inform Your Group: If using a Pocket WiFi, ensure everyone knows that connectivity might be limited in certain areas and plan accordingly.
- Embrace the Disconnect (Temporarily): Sometimes, a brief moment without constant notifications can be part of the travel experience, allowing you to immerse yourself fully in Japan’s serene landscapes.
For the vast majority of first or second-time visitors from India and Bangladesh sticking to popular tourist routes, the connectivity will be more than adequate. Just be mindful if your adventure takes you truly off the beaten path.
Making the Right Choice: A Scenario-Based Guide
Choosing the best connectivity option depends heavily on your specific travel profile. Let’s look at a few common scenarios for Indian and Bangladeshi tourists:
Scenario 1: The Tech-Savvy Solo Explorer from Bengaluru
- Traveler Profile: A solo traveler from India, accustomed to digital services, planning a 10-day trip covering Tokyo, Kyoto, and Hiroshima. Relies heavily on Google Maps for navigation, social media for updates, and translation apps. Wants minimal hassle.
- Recommendation: eSIM.
- Why: Easy activation before departure means landing ready to go. No extra device to carry. Can keep home SIM active for OTPs. A 10GB/15-day eSIM (approx. ¥3,200 or ₹1,792) would be perfect, offering ample data without breaking the bank. Hotspot sharing is possible if an emergency arises, but primarily for personal use.
Scenario 2: The Family of Four from Dhaka with Young Children
- Traveler Profile: A family from Bangladesh (parents, two children aged 8 and 12) on a two-week trip to Tokyo, Osaka, and Nara. Kids need tablets for entertainment during bullet train rides, parents need navigation, translation, and frequent video calls to family back home. Budget-conscious but values convenience and reliability.
- Recommendation: Pocket WiFi.
- Why: Cost-effective for multiple users (up to 4-5 devices). Often offers unlimited data, crucial for kids' streaming and frequent video calls. A 14-day rental (approx. ¥7,000-¥10,000 or ₹3,920-₹5,600) is far cheaper than individual eSIMs. Dedicated device means phone batteries are preserved. Easy airport pickup and return. This ensures everyone stays connected, whether navigating the complex stations (like comparing it to Dhaka's traffic, but with precise train timings) or finding halal food options in a new city.
Scenario 3: A Couple from Mumbai on a Backpacking Adventure
- Traveler Profile: A couple on a three-week backpacking trip across various regions, including some rural areas and smaller towns. They are moderately tech-savvy, budget-conscious, and value flexibility. They each have a smartphone.
- Recommendation: One eSIM (for primary navigation/data) + one physical SIM (as backup or for lighter use).
- Why: One person gets an eSIM for convenience (e.g., a 20GB/30-day plan for ¥5,500 or ₹3,080). The other, if their phone is unlocked, could opt for a physical data-only SIM (e.g., 15GB/30-day for ¥4,800 or ₹2,688) if they find a good deal at an electronics store. This provides redundancy. Alternatively, a single Pocket WiFi could work, but managing charging for two phones and the Pocket WiFi might be cumbersome for backpackers constantly on the move. Hotspot from the eSIM is also a strong contender here if both phones are compatible.
Mini Case-Study: The Sharma Family's Kyoto Quest The Sharma family from Delhi (parents, two teenage children) planned a 10-day trip focusing on Tokyo and Kyoto, with a day trip to Nara. Their primary concern was seamless navigation through Kyoto’s complex bus system and finding vegetarian-friendly restaurants. They decided on a Pocket WiFi.
- Before Departure: Mrs. Sharma booked a 10-day unlimited Pocket WiFi online from Japan Wireless for approximately ¥6,000 (around ₹3,360). She selected Narita Airport pickup.
- Arrival: Upon landing at Narita, they easily located the Japan Wireless counter, picked up their device, and were online within minutes.
- During the Trip: The Pocket WiFi became their central hub. Mr. Sharma used it for Google Maps to navigate the Tokyo Metro, comparing it often to the efficiency of the Delhi Metro. The children streamed videos during the Shinkansen ride to Kyoto. In Kyoto, they used the data to instantly translate menu items at restaurants, ensuring vegetarian options, and to find the quickest bus routes to temples like Kinkaku-ji and Fushimi Inari-taisha. Even during their day trip to Nara, despite being a bit outside the main cities, the connectivity remained robust enough for real-time deer photo sharing and checking train schedules.
- Departure: They dropped the Pocket WiFi into the designated box at Kansai Airport (KIX) before their flight, a process that took less than a minute. The peace of mind and constant connectivity significantly enhanced their trip, making navigation and cultural immersion much smoother.
Mistakes to Avoid and Pro Tips
Even with the best planning, small errors can lead to big headaches. Here are crucial tips for Indian and Bangladeshi tourists:
- Mistake 1: Not Checking eSIM Compatibility.
- Pro Tip: Before purchasing an eSIM, double-check your phone's model and carrier to ensure it supports eSIM functionality. A quick Google search for "eSIM compatible phones [your phone model]" will usually confirm this.
- Mistake 2: Forgetting to Unlock Your Phone for a Physical SIM.
- Pro Tip: If you plan to use a physical Japanese SIM, contact your home carrier (e.g., Airtel, Jio, Grameenphone, Robi) before you travel to ensure your phone is unlocked for international SIMs. This is a common requirement.
- Mistake 3: Underestimating Data Needs.
- Pro Tip: You'll use more data than you think for navigation, translation, research, and sharing photos/videos. Opt for a plan with more data than you anticipate needing. Unlimited data Pocket WiFi or larger eSIM bundles offer peace of mind.
- Mistake 4: Not Booking Pocket WiFi in Advance.
- Pro Tip: Especially during peak seasons (Cherry Blossom, Autumn foliage, Golden Week), Pocket WiFi devices can sell out. Book at least 2-3 weeks in advance to secure your device and preferred pickup location.
- Mistake 5: Relying Solely on Free Public Wi-Fi.
- Pro Tip: While some free Wi-Fi is available (e.g., in major train stations, cafes), it's often slow, requires multiple registrations, and is less secure. Treat it as a bonus, not your primary source of connectivity.
- Mistake 6: Ignoring Battery Life (for Pocket WiFi and phones).
- Pro Tip: Carry a good quality power bank (or two!) for all your devices. A full day of heavy usage, especially with hotspot sharing, will drain batteries quickly. Ensure your power bank is fully charged each morning.
- Pro Tip: Download Offline Maps and Apps.
- Before you even leave India or Bangladesh, download Google Maps offline regions for Japan's major cities. Also, download language translation apps for offline use (e.g., Google Translate's offline packs) and food finder apps like Halal Navi or HappyCow.
- Pro Tip: Learn Basic Japanese Phrases.
- While connectivity helps, knowing a few basic phrases like "Sumimasen" (Excuse me/Sorry), "Arigato gozaimasu" (Thank you), and "Eigo o hanasemasu ka?" (Do you speak English?) can greatly enhance interactions, especially in areas with limited Wi-Fi.
- Pro Tip: Keep Your Home SIM Safe.
- If using a physical Japanese SIM, store your home SIM in a small, secure pouch or the SIM tray removal tool's storage slot. Losing it can be a significant hassle upon returning.
Key Takeaways
- Assess Your Needs: Solo travelers often benefit from eSIMs, while groups or families will find Pocket WiFi more economical and convenient due to hotspot sharing and often unlimited data.
- eSIM for Convenience: Activate your eSIM plan from India or Bangladesh before departure, ensuring immediate connectivity upon