48 Hours in Tokyo on a Layover
Maximize your Tokyo layover! A practical guide for Indian & Bangladeshi travelers: transit visas, luggage, hotels, and a packed 48-hour itinerary.
Jul 10, 2026·✍️ olablog·⏱ 19 min read
Maximize your Tokyo layover! A practical guide for Indian & Bangladeshi travelers: transit visas, luggage, hotels, and a packed 48-hour itinerary.
Tap a region to browse articles
Touching down in Japan for a layover, even a brief one, presents a unique opportunity to experience a slice of this fascinating country without committing to a full-blown trip. For Indian and Bangladeshi travellers, navigating a 48-hour stopover in Tokyo requires careful planning, especially concerning transit visas, efficient logistics, and finding food options that cater to specific dietary needs. This guide cuts through the noise, offering a practical, no-nonsense plan to make the most of your limited time, transforming a transit halt into a memorable Japanese adventure for approximately ¥20,000-¥30,000 (around ₹11,200-₹16,800) per person, excluding international flights.
Navigating the Transit Visa for Japan
The most critical first step for Indian and Bangladeshi citizens planning to leave the airport during a layover in Japan is understanding the transit visa requirements. Unlike some countries where a short layover might not require a visa if you stay within the international transit area, leaving the airport to explore Tokyo absolutely requires a valid visa.
For a 48-hour layover, you will generally need to apply for a Temporary Visitor Visa (also sometimes referred to as a "Shore Pass" in specific, limited circumstances for cruise passengers, but for air transit, the Temporary Visitor Visa is the standard). It is crucial to understand that Japan does not offer a "visa on arrival" for Indian or Bangladeshi passport holders for tourism or transit purposes that involve exiting the airport. This means you must apply for and obtain your visa before you depart from your home country.
The application process typically involves submitting a completed application form, your passport (valid for at least six months beyond your intended stay), recent passport-sized photographs, flight itineraries (proof of onward travel is essential), hotel booking confirmations for your layover stay, and a detailed itinerary of your planned activities in Japan. You will also need to provide financial proof to show you can support yourself during your brief stay. The specific requirements can vary slightly, so it is paramount to check the official website of the Embassy of Japan in India (New Delhi, Chennai, Kolkata, Mumbai, Bengaluru) or Bangladesh (Dhaka) for the most current and accurate information. Processing times can range from a few working days to a couple of weeks, so apply well in advance of your travel date. Do not make any non-refundable bookings until your visa is approved.
Airport to City: Your First Steps in Tokyo
Tokyo is served by two main international airports: Narita International Airport (NRT) and Haneda Airport (HND). Understanding your arrival airport is key to planning your transit into the city. Haneda is significantly closer to central Tokyo, while Narita is further out but well-connected.
From Narita International Airport (NRT): Narita is approximately 60-70 kilometres northeast of central Tokyo. The most efficient ways to reach the city are:
- Narita Express (N'EX): This is often the most comfortable and direct option, especially if you have luggage. N'EX offers reserved seating and connects Narita directly to major stations like Tokyo Station, Shibuya, Shinjuku, and Ikebukuro. The journey to Tokyo Station takes about 50-60 minutes. A one-way ticket costs approximately ¥3,070 (around ₹1,720). You can purchase tickets at the JR ticket counters (Midori no Madoguchi) at the airport.
- Keisei Skyliner: This is a faster, slightly more affordable option to Ueno and Nippori stations. The journey to Ueno takes about 40 minutes. A one-way ticket costs approximately ¥2,570 (around ₹1,440). From Ueno or Nippori, you can easily transfer to the extensive Tokyo Metro or JR lines. Tickets can be purchased at the Keisei counters at Narita Airport.
- Limousine Bus: These comfortable buses offer direct service to many major hotels and city locations. While often slower due to traffic, they are convenient if your hotel is a direct stop. Fares typically range from ¥2,800 to ¥3,600 (around ₹1,570-₹2,015). Check the bus schedule and stops at the airport.
From Haneda Airport (HND): Haneda is much closer to central Tokyo, just about 15-20 kilometres south.
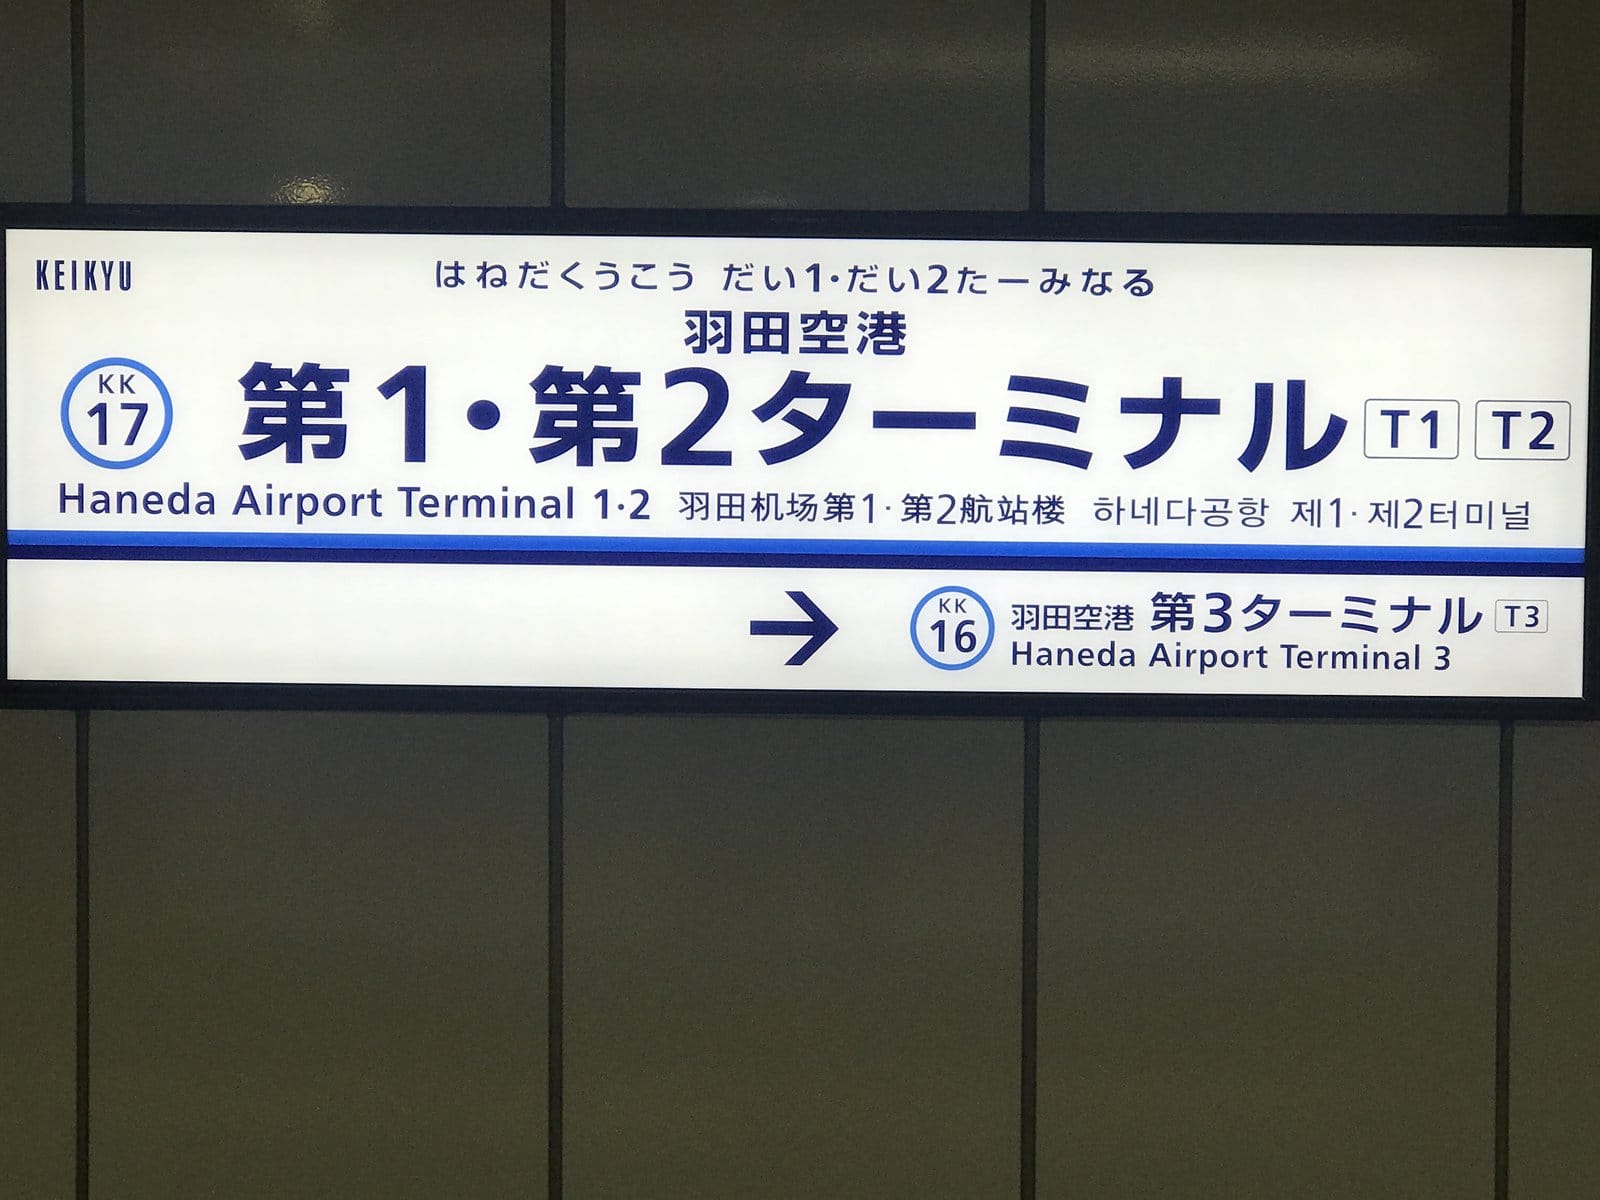
- Keikyu Line: This private railway connects Haneda Airport to Shinagawa Station (about 15-20 minutes, ¥300-¥500 or ₹170-₹280) from where you can transfer to JR lines.
- Tokyo Monorail: This scenic monorail connects Haneda Airport to Hamamatsucho Station (about 15-20 minutes, ¥500 or ₹280), which is a major JR Yamanote Line stop.
- Limousine Bus: Similar to Narita, buses offer direct routes to various parts of Tokyo, though the train options are generally faster for Haneda. Fares are typically ¥1,000-¥1,300 (around ₹560-₹730).
Getting Around Tokyo: Once in the city, the Tokyo Metro and JR (Japan Railways) lines are your best friends. Tokyo's rail network is incredibly efficient and extensive, far exceeding the scale of even the Delhi Metro in terms of density and interconnectedness.
- IC Cards (Suica or Pasmo): These rechargeable smart cards are highly recommended. You can tap and go on almost all trains and buses across Tokyo and even use them for purchases at convenience stores and vending machines. Purchase them at any major station ticket machine or counter for ¥2,000 (around ₹1,120), which includes a ¥500 (₹280) refundable deposit and ¥1,500 (₹840) credit. While a 48-hour layover might not justify a multi-day tourist pass like the Tokyo Subway Ticket (which offers unlimited travel on Metro and Toei Subway lines), a Suica/Pasmo offers maximum flexibility without needing to calculate fares for each journey.
- Google Maps: Essential for navigation. It provides real-time train schedules, platform numbers, and transfer information.
Smart Luggage Storage Solutions
Dragging your large international travel bags through Tokyo is neither practical nor enjoyable. Fortunately, Japan offers excellent luggage storage options, ensuring you can explore freely.
Airport Lockers and Baggage Service: Both Narita and Haneda Airports have coin lockers of various sizes and staffed baggage service counters.
- Narita: Lockers are available in all terminals, costing approximately ¥500-¥800 (₹280-₹450) for a large locker per day. Baggage service counters can hold items for longer periods, often charging around ¥1,000 (₹560) per item per day.
- Haneda: Similar services are available, with lockers ranging from ¥300-¥800 (₹170-₹450) per day. Baggage service counters are also present. It's advisable to store your main luggage here, especially if you're returning to the same airport for your onward flight.
Station Lockers: Major train stations across Tokyo, including Tokyo Station, Shinjuku, Shibuya, Ueno, and Shinagawa, are equipped with numerous coin lockers. These come in small, medium, and large sizes.
- Small/Medium Lockers: Suitable for backpacks or carry-on bags, typically ¥300-¥600 (₹170-₹335) for 24 hours.
- Large Lockers: Can accommodate standard international suitcases, costing around ¥700-¥1,000 (₹390-₹560) for 24 hours. Lockers are usually found near ticket gates or within shopping areas of the stations. They often accept IC cards (Suica/Pasmo) for payment, making it very convenient. Look for signs in English. Be aware that popular stations can have lockers fill up quickly during peak travel times.
Hotel Luggage Storage: If you're staying at a hotel, even for one night, they will almost always be happy to store your luggage for you, both before check-in and after check-out, usually free of charge. This is often the most convenient option if your hotel is well-located.
Mistake to Avoid: Assuming you can leave your luggage unattended anywhere. Always use designated storage facilities. Japan is incredibly safe, but unattended luggage will be treated with suspicion and could be removed by security.
Your Layover Abode: Picking the Right Hotel
For a short 48-hour layover, hotel choice is critical. You need convenience, good transport links, and a comfortable base without breaking the bank. Focus on areas with direct airport access and easy connections to major sightseeing spots.
Recommended Areas for a Layover:
Shinjuku:
- Why: Excellent airport connections (Narita Express stops directly at Shinjuku Station), a massive transportation hub, and vibrant night life. You'll be steps away from towering skyscrapers, neon-lit streets, and countless dining options. It offers a fantastic "big city" Tokyo experience right outside your door.
- Hotel Types: From mid-range business hotels (e.g., Hotel Gracery Shinjuku, APA Hotel) to upscale options. Capsule hotels are also plentiful and offer a unique, budget-friendly experience (e.g., Nine Hours Shinjuku-North) for around ¥4,000-¥7,000 (₹2,240-₹3,920) per night.
- Approximate Cost: Mid-range business hotels typically cost ¥8,000-¥15,000 (₹4,480-₹8,400) per night.
Ueno:
- Why: Direct Keisei Skyliner access from Narita, making it very convenient. Ueno Park is home to museums, a zoo, and temples, offering a cultural respite. It's a slightly calmer area than Shinjuku but still very well-connected by JR and Metro.
- Hotel Types: Many business hotels (e.g., Mitsui Garden Hotel Ueno, Dormy Inn Ueno Okachimachi).
- Approximate Cost: Similar to Shinjuku, ¥7,000-¥13,000 (₹3,920-₹7,280) per night.
Tokyo Station Area (Marunouchi/Nihonbashi):
- Why: Direct Narita Express access. This area is great for first-time visitors who want to see the Imperial Palace grounds, explore modern architecture, and have excellent transport links to virtually anywhere in Tokyo. It's a bit more upscale and business-focused but offers high convenience.
- Hotel Types: Often slightly pricier, with many international hotel chains and premium Japanese business hotels (e.g., Hotel Ryumeikan Tokyo, Mitsui Garden Hotel Kyobashi).
- Approximate Cost: ¥10,000-¥20,000+ (₹5,600-₹11,200+) per night.
Booking Tips:
- Use reputable booking sites like Booking.com, Agoda, or Rakuten Travel (Japan's equivalent to IRCTC for hotels, but simpler).
- Look for hotels offering free cancellation, especially before your visa is confirmed.
- Prioritise hotels within a 5-10 minute walk of a major train station exit to minimise travel time. "Station Hotel" or "X Hotel Shinjuku-Eki" (Shinjuku Station) often indicates proximity.
- Check recent reviews for cleanliness and English-speaking staff, which can be helpful.
Tokyo's Flavours: A Culinary Guide for Indian and Bangladeshi Visitors
Food anxiety is a genuine concern for many Indian and Bangladeshi travellers, particularly regarding vegetarian and halal options. Tokyo's culinary scene is diverse, and while traditional Japanese cuisine heavily features seafood and dashi (fish stock), there are increasingly more options catering to specific dietary needs.
Vegetarian Options:
- Temple Cuisine (Shojin Ryori): While not widely available for a quick layover, traditional Buddhist temple cuisine is inherently vegetarian and often vegan. If you find a restaurant specialising in this, it's an authentic experience.
- Vegetarian Ramen/Udon: Many ramen shops now offer a 'vegetarian ramen' option, usually with a vegetable-based broth (not pork or chicken) and toppings like tofu, vegetables, and seaweed. Always double-check to ensure no hidden meat products. T's TanTan in Tokyo Station is a famous, fully vegan ramen spot and highly recommended.
- Indian Restaurants: Tokyo has a thriving Indian food scene, especially in areas like Shinjuku, Ueno, and Ginza. These restaurants are a reliable source of familiar vegetarian curries, daals, rotis, and biryanis. Many are run by Indian or Nepali chefs. Expect prices for a meal to be around ¥1,200-¥2,500 (₹670-₹1,400).
- Convenience Stores (Konbini): FamilyMart, 7-Eleven, and Lawson are ubiquitous. They offer a surprising array of vegetarian-friendly items like onigiri (rice balls – check fillings carefully, often labelled with symbols), salads, fruits, baked goods, and sometimes even vegetarian sandwiches or instant cup noodles. Look for green packaging indicating "vegetable" or "salad."
- Department Store Food Halls (Depachika): The basement food halls of major department stores (like Isetan, Mitsukoshi, Takashimaya) are gourmet paradises. You can find incredible vegetarian deli items, fresh salads, breads, and sweets. These are often labelled with ingredients, making it easier to choose.
- Tempura: While often served with seafood, many tempura restaurants offer vegetable-only sets. Ensure the cooking oil is not shared with meat/fish if that is a concern.
Halal Options:
- Halal Certified Restaurants: The number of halal-certified restaurants in Tokyo is growing, especially in popular tourist areas like Shinjuku, Shibuya, and Asakusa. Use apps like Halal Gourmet Japan or consult websites dedicated to halal food in Japan to find verified establishments. These often include a mix of Japanese, Indian, and other international cuisines.
- Mos Burger: This popular Japanese fast-food chain has several halal-certified branches, offering halal burgers.
- Kebab Stands: You'll find numerous Turkish kebab stands, particularly in bustling areas. These are generally a safe and delicious halal option.
- Indian/Pakistani/Bangladeshi Restaurants: Many of these establishments use halal meat, but it's always best to ask for confirmation.
- Supermarkets/Convenience Stores: Packaged snacks and drinks are generally safe. For fresh food, look for "halal" labels or stick to vegetarian options where meat is not a concern.
General Tips for Food:
- Learn Key Phrases: "Sumimasen, bejitarian desu ka?" (Excuse me, is this vegetarian?) and "Sumimasen, hararu desu ka?" (Excuse me, is this halal?) can be very helpful.
- Show Pictures: If language is a barrier, have pictures of "no meat," "no fish," "no dashi," etc., on your phone.
- Don't Be Shy to Ask: Japanese hospitality often means staff will try their best to accommodate you, even with limited English.
- Breakfast: Your hotel might offer breakfast, but convenience stores are an excellent and affordable option for a quick bite (onigiri, bread, fruit).
The 48-Hour Blitz: A Sample Itinerary for Maximum Impact
This itinerary is designed to give you a taste of Tokyo's contrasts, from traditional serenity to modern dynamism, all within a compressed timeframe.
Day 1: Arrival & Shinjuku's Neon Pulse (Evening)
18:00 (approx): Arrive at Airport, Clear Immigration, & Transfer to Hotel.
- Pick up your Suica/Pasmo card and take the N'EX (from Narita) or Keikyu Line/Monorail (from Haneda) to your chosen hotel area (e.g., Shinjuku, Ueno).
- Check into your hotel and drop off your luggage.
- Cost: Airport transfer ¥2,500-¥3,500 (₹1,400-₹1,960). Suica card ¥2,000 (₹1,120, including deposit).
20:00: Dinner in Shinjuku.
- Explore the vibrant streets of Shinjuku. For halal options, look for places like Shinjuku Gyoen Ramen Ouka (halal ramen) or various Indian/Pakistani restaurants around Shin-Okubo. Vegetarians can find options at T's TanTan (vegan ramen inside Tokyo Station, accessible via short subway ride from Shinjuku) or explore department store food halls.
- Cost: Dinner ¥1,500-¥3,000 (₹840-₹1,680).
21:30: Shinjuku Night Walk.
- Immerse yourself in the dazzling neon lights of Kabukicho (just for the experience, be aware of touts) and the quaint, atmospheric Golden Gai (a collection of tiny bars). For a bird's-eye view, head to the Tokyo Metropolitan Government Building (free observation deck, open until 11 PM, last entry 10:30 PM). The panoramic views of the city lights are spectacular.
- Cost: Free (observation deck).
23:00: Return to Hotel.
Day 2: Culture, Crowds & Departure (Full Day)
06:00: Tsukiji Outer Market.
- Wake up early for the bustling Tsukiji Outer Market. While the famous fish auction moved to Toyosu, the outer market remains a fantastic place to experience traditional Japanese market culture and street food.
- Vegetarian/Halal options: Look for fresh fruits, grilled mochi, tamagoyaki (rolled omelette – ask if dashi is used), and various snacks. Many stalls sell pre-packaged items that are clearly labelled. There are also many cafes for coffee and bread.
- Cost: Breakfast/snacks ¥500-¥1,500 (₹280-₹840).
- Travel: Take the Toei Oedo Line to Tsukiji Shijo Station or Hibiya Line to Tsukiji Station.
08:00: Asakusa & Senso-ji Temple.
- From Tsukiji, take the subway to Asakusa. Visit Tokyo's oldest temple, Senso-ji, and stroll along Nakamise-dori, a traditional shopping street leading to the temple. This offers a glimpse into old Tokyo.
- Cost: Free (temple entrance). Souvenirs are optional.
- Travel: About 20-30 minutes by subway from Tsukiji.
10:30: Ueno Park & Museums.
- Head to Ueno Park. You can choose to visit one of its many world-class museums (e.g., Tokyo National Museum for Japanese art, National Museum of Nature and Science) or simply enjoy a relaxing walk through the park.
- Cost: Museum entry typically ¥600-¥1,000 (₹335-₹560) per person.
- Travel: Short subway ride from Asakusa.
13:00: Lunch.
- Ueno and its surrounding areas have numerous dining options, including Indian restaurants, cafes with vegetarian options, and department store food halls.
- Cost: Lunch ¥1,200-¥2,500 (₹670-₹1,400).
14:30: Shibuya Crossing & Hachiko.
- Experience the iconic Shibuya Crossing, the world's busiest intersection. Take photos, soak in the energy, and greet the famous Hachiko statue. You can also explore the trendy shops and cafes in Shibuya.
- Cost: Free.
- Travel: Direct JR Yamanote Line from Ueno.
16:00: Last-Minute Souvenir Shopping/Relaxation.
- Depending on your flight time, you can do some last-minute souvenir shopping in Shibuya, or head back to your hotel for a quick rest. Look for unique Japanese snacks, stationery, or small crafts.
- Cost: Varies.
18:00 (approx): Head back to Airport.
- Allow ample time (minimum 2-3 hours before departure for airport transfer, plus check-in time) to return to Narita or Haneda.
- Cost: Airport transfer ¥2,500-¥3,500 (₹1,400-₹1,960).
Total Estimated Costs for 48 Hours (excluding international flights):
- Transportation: ¥5,000-¥7,000 (₹2,800-₹3,920) (including airport transfers, Suica credit)
- Accommodation (1 night): ¥7,000-¥15,000 (₹3,920-₹8,400)
- Food: ¥3,000-¥6,000 (₹1,680-₹3,360) (for 2 dinners, 1 breakfast, 1 lunch, snacks)
- Activities/Entry Fees: ¥500-¥1,000 (₹280-₹560) (e.g., museum)
- Total: ¥15,500-¥29,000 (₹8,680-₹16,240) per person. This can be adjusted based on hotel choice and dining preferences.
Maximising Your Time and Yen: Essential Tips
Even with a whirlwind 48-hour layover, smart planning can make a significant difference.
- Get Connected: Rent a portable Wi-Fi device (pocket Wi-Fi) at the airport or purchase a local SIM card (check compatibility with your phone). Having constant internet access for Google Maps and translation apps is invaluable. Rental costs are around ¥500-¥1,000 (₹280-₹560) per day.
- Cash is King (Still): While credit cards are increasingly accepted, many smaller shops, restaurants, and coin lockers still prefer cash. Carry a decent amount of Japanese Yen. You can withdraw cash from ATMs at convenience stores (7-Eleven, Lawson, FamilyMart) using your international debit/credit card. Inform your bank before travel to avoid card blocks.
- Learn Basic Phrases: Even "Arigato gozaimasu" (Thank you), "Sumimasen" (Excuse me/Sorry), and "Konnichiwa" (Hello) can go a long way in showing respect and facilitating interactions.
- Mind Your Manners: Japan has a distinct culture of politeness. Observe local customs: avoid talking loudly on public transport, queuing neatly, and refraining from eating or drinking while walking.
- No Tipping: Tipping is not customary in Japan and can sometimes be seen as rude or confusing. The service charge is usually included in the price.
- Stay Hydrated: Japan's summers can be humid, similar to the monsoon season in India/Bangladesh, while winters are dry. Vending machines are everywhere, offering a wide range of hot and cold drinks for around ¥100-¥200 (₹56-₹112).
- Comfortable Shoes: You'll be doing a lot of walking. Prioritize comfortable footwear over fashion.
- Flexibility is Key: This is a layover, not a full vacation. If you miss one attraction, don't fret. Enjoy what you can and soak in the atmosphere.
- Power Banks: Keep your phone charged for navigation and photos.
- Luggage Forwarding (for longer stays): While not ideal for a 48-hour layover, for future trips, Japan's luggage forwarding services (Takkyubin) are incredibly efficient, allowing you to send luggage directly from the airport to your hotel, or between hotels.
Key Takeaways
- Visa First: Indian and Bangladeshi citizens must secure a Temporary Visitor Visa before arriving in Japan to leave the airport during a layover.
- Plan Airport Transfers: Know whether you're arriving at Narita (N'EX/Skyliner) or Haneda (Keikyu/Monorail) and pre-plan your quickest route into the city.
- Luggage Liberation: Utilise airport or station lockers, or your hotel's storage service, to explore Tokyo unburdened.
- Strategic Accommodation: Choose hotels near major transit hubs like Shinjuku, Ueno, or Tokyo Station for maximum convenience.
- Dietary Awareness: Research vegetarian/halal options in advance using apps or by seeking out Indian restaurants, specific vegan ramen spots, or convenience store selections.
- IC Card for Ease: A Suica or Pasmo card is essential for seamless travel on Tokyo's extensive public transport network.
- Balance & Enjoy: Don't try to cram too much. Focus on a few key experiences and allow time to simply absorb the unique atmosphere of Tokyo.
FAQ
Q. Do I need a transit visa if I just stay inside the airport terminal during my layover? A. No, if you remain within the international transit area of the airport and do not pass through immigration, you generally do not need a transit visa for Japan. However, it's always wise to confirm with your airline or the Japanese embassy if your layover involves a change of terminals or a very long wait that might necessitate leaving the transit zone.
Q. Is it safe to travel alone in Tokyo as an Indian or Bangladeshi woman? A. Tokyo is considered one of the safest major cities in the world. Solo female travellers generally report feeling very safe, even at night. Standard precautions, as you would take in any large city, are always advised, but serious crime is rare.
Q. Can I use my Indian/Bangladeshi debit/credit cards easily in Tokyo? A. Major credit cards (Visa, Mastercard, Amex) are widely accepted in department stores, larger restaurants, and hotels. However, smaller shops, some local eateries, and coin lockers often only accept cash. It is highly recommended to carry sufficient Japanese Yen for daily expenses and smaller purchases. You can withdraw cash from 7-Eleven ATMs.
Q. What is the best way to communicate if I don't speak Japanese? A. Many people in tourist areas, hotels, and major train stations have some level of English proficiency. For others, language translation apps (like Google Translate) are incredibly helpful. Having a pocket Wi-Fi device or local SIM card ensures you always have internet access for these tools.
Q. What should I do if I lose my passport or important documents during my layover? A. Immediately report the loss to the nearest police station (Koban). Then, contact your country's embassy or consulate in Tokyo (Embassy of India, Embassy of Bangladesh) as soon as possible. They will guide you through the process of obtaining emergency travel documents. Keep photocopies or digital copies of your passport and visa separately.